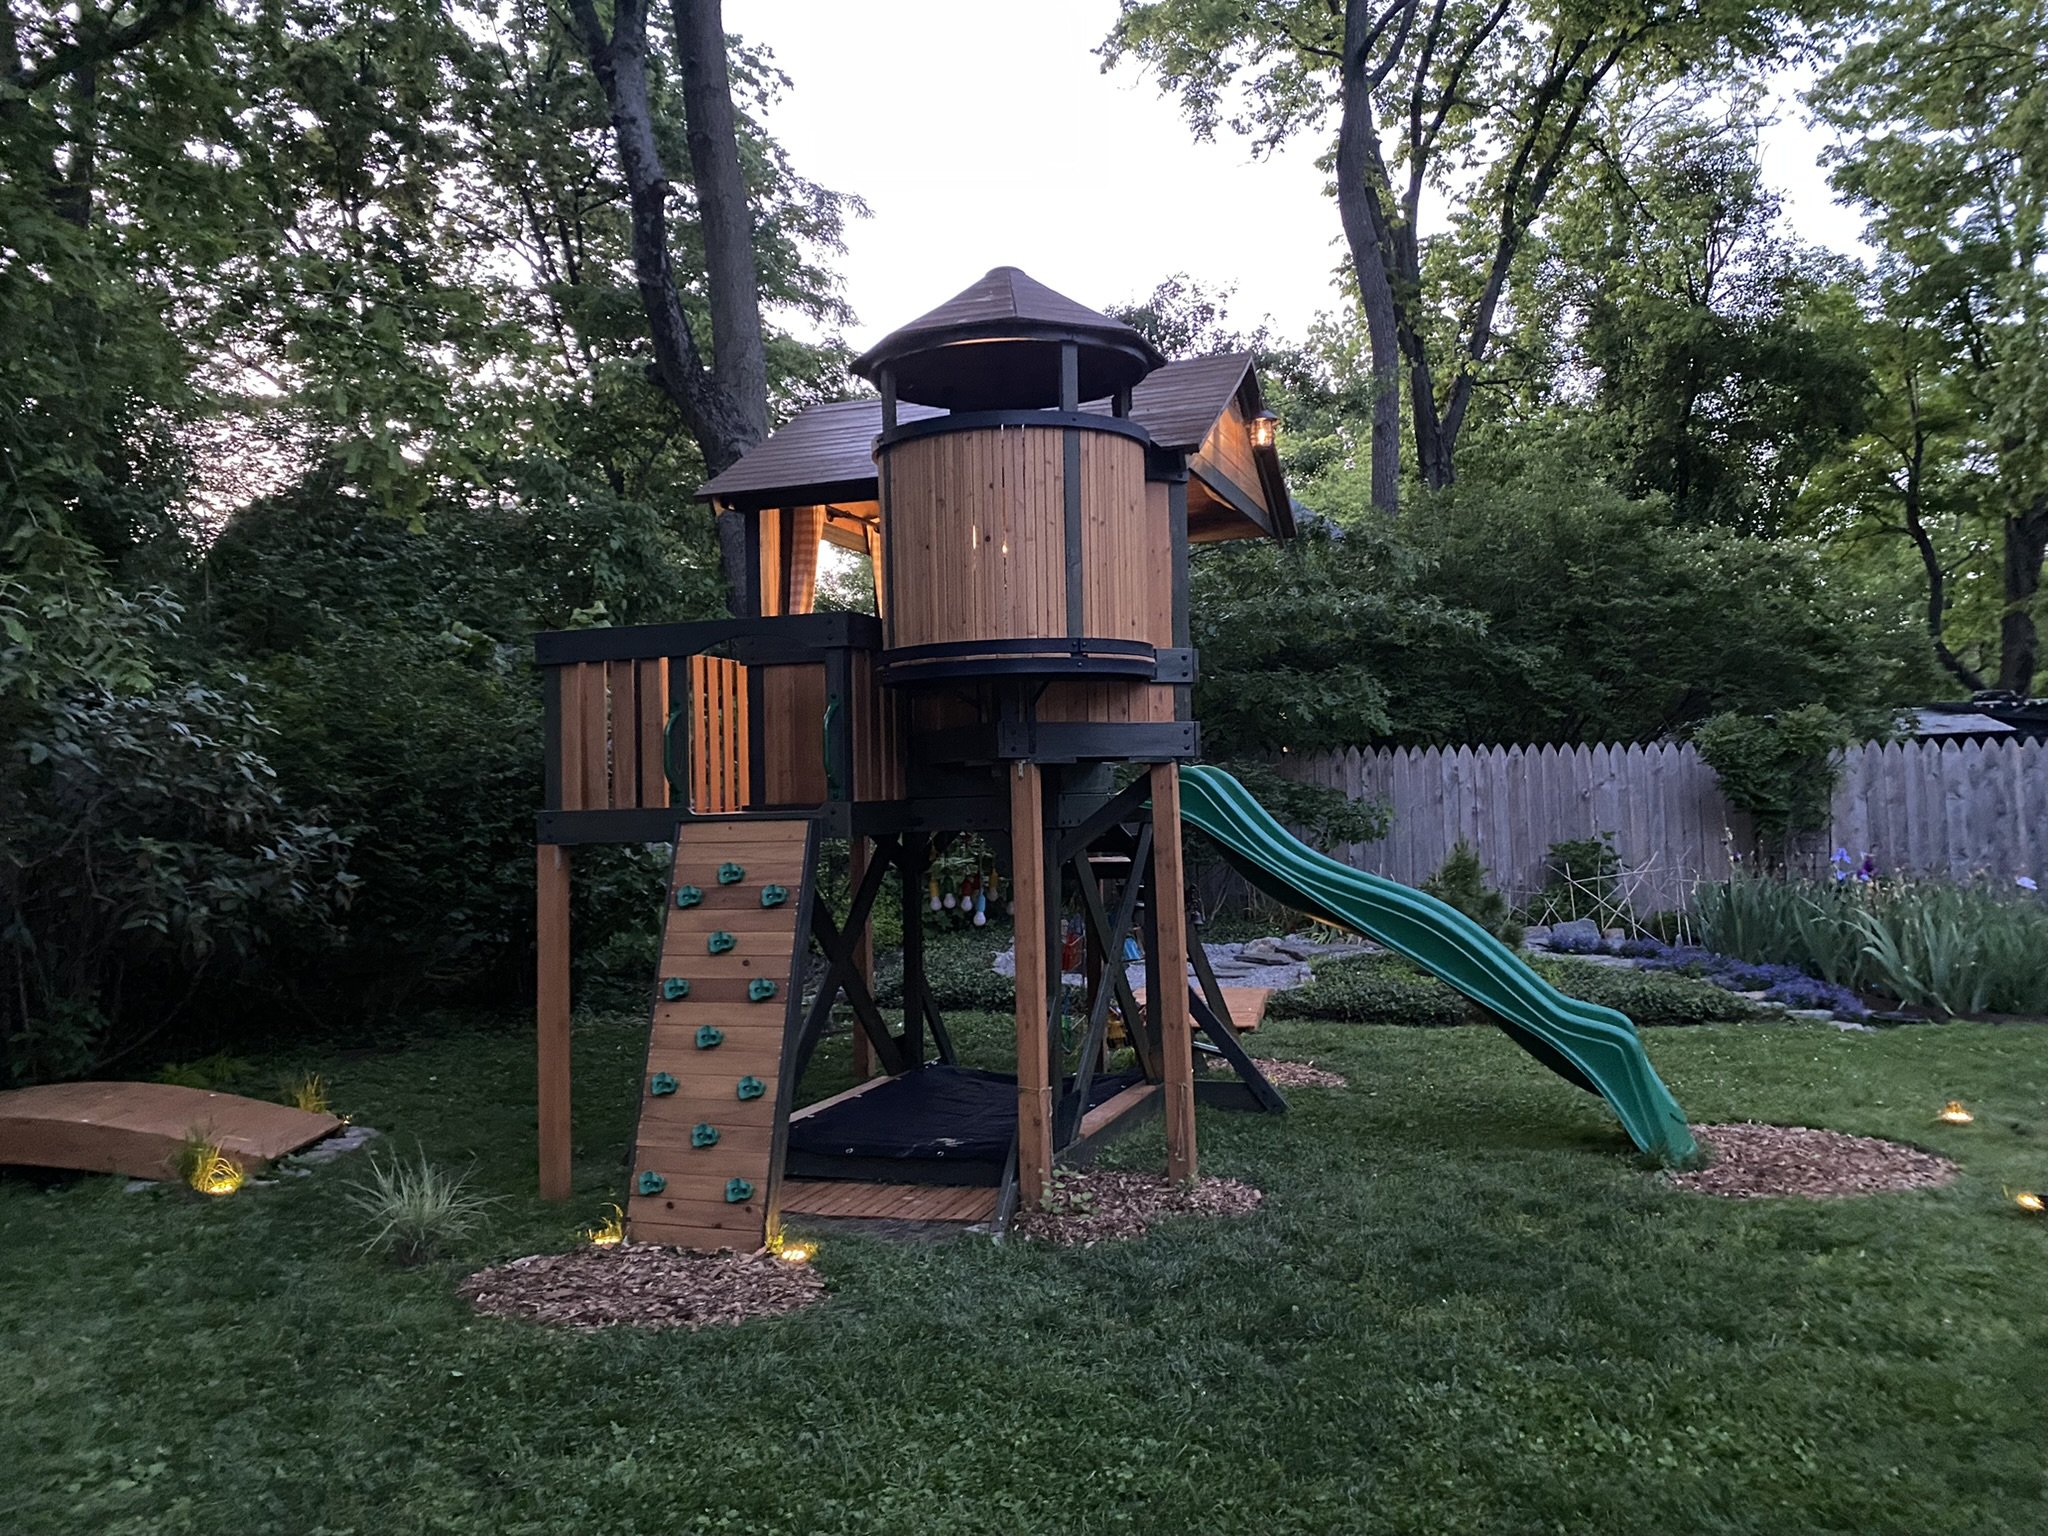
The Squirrels Nest

The Story
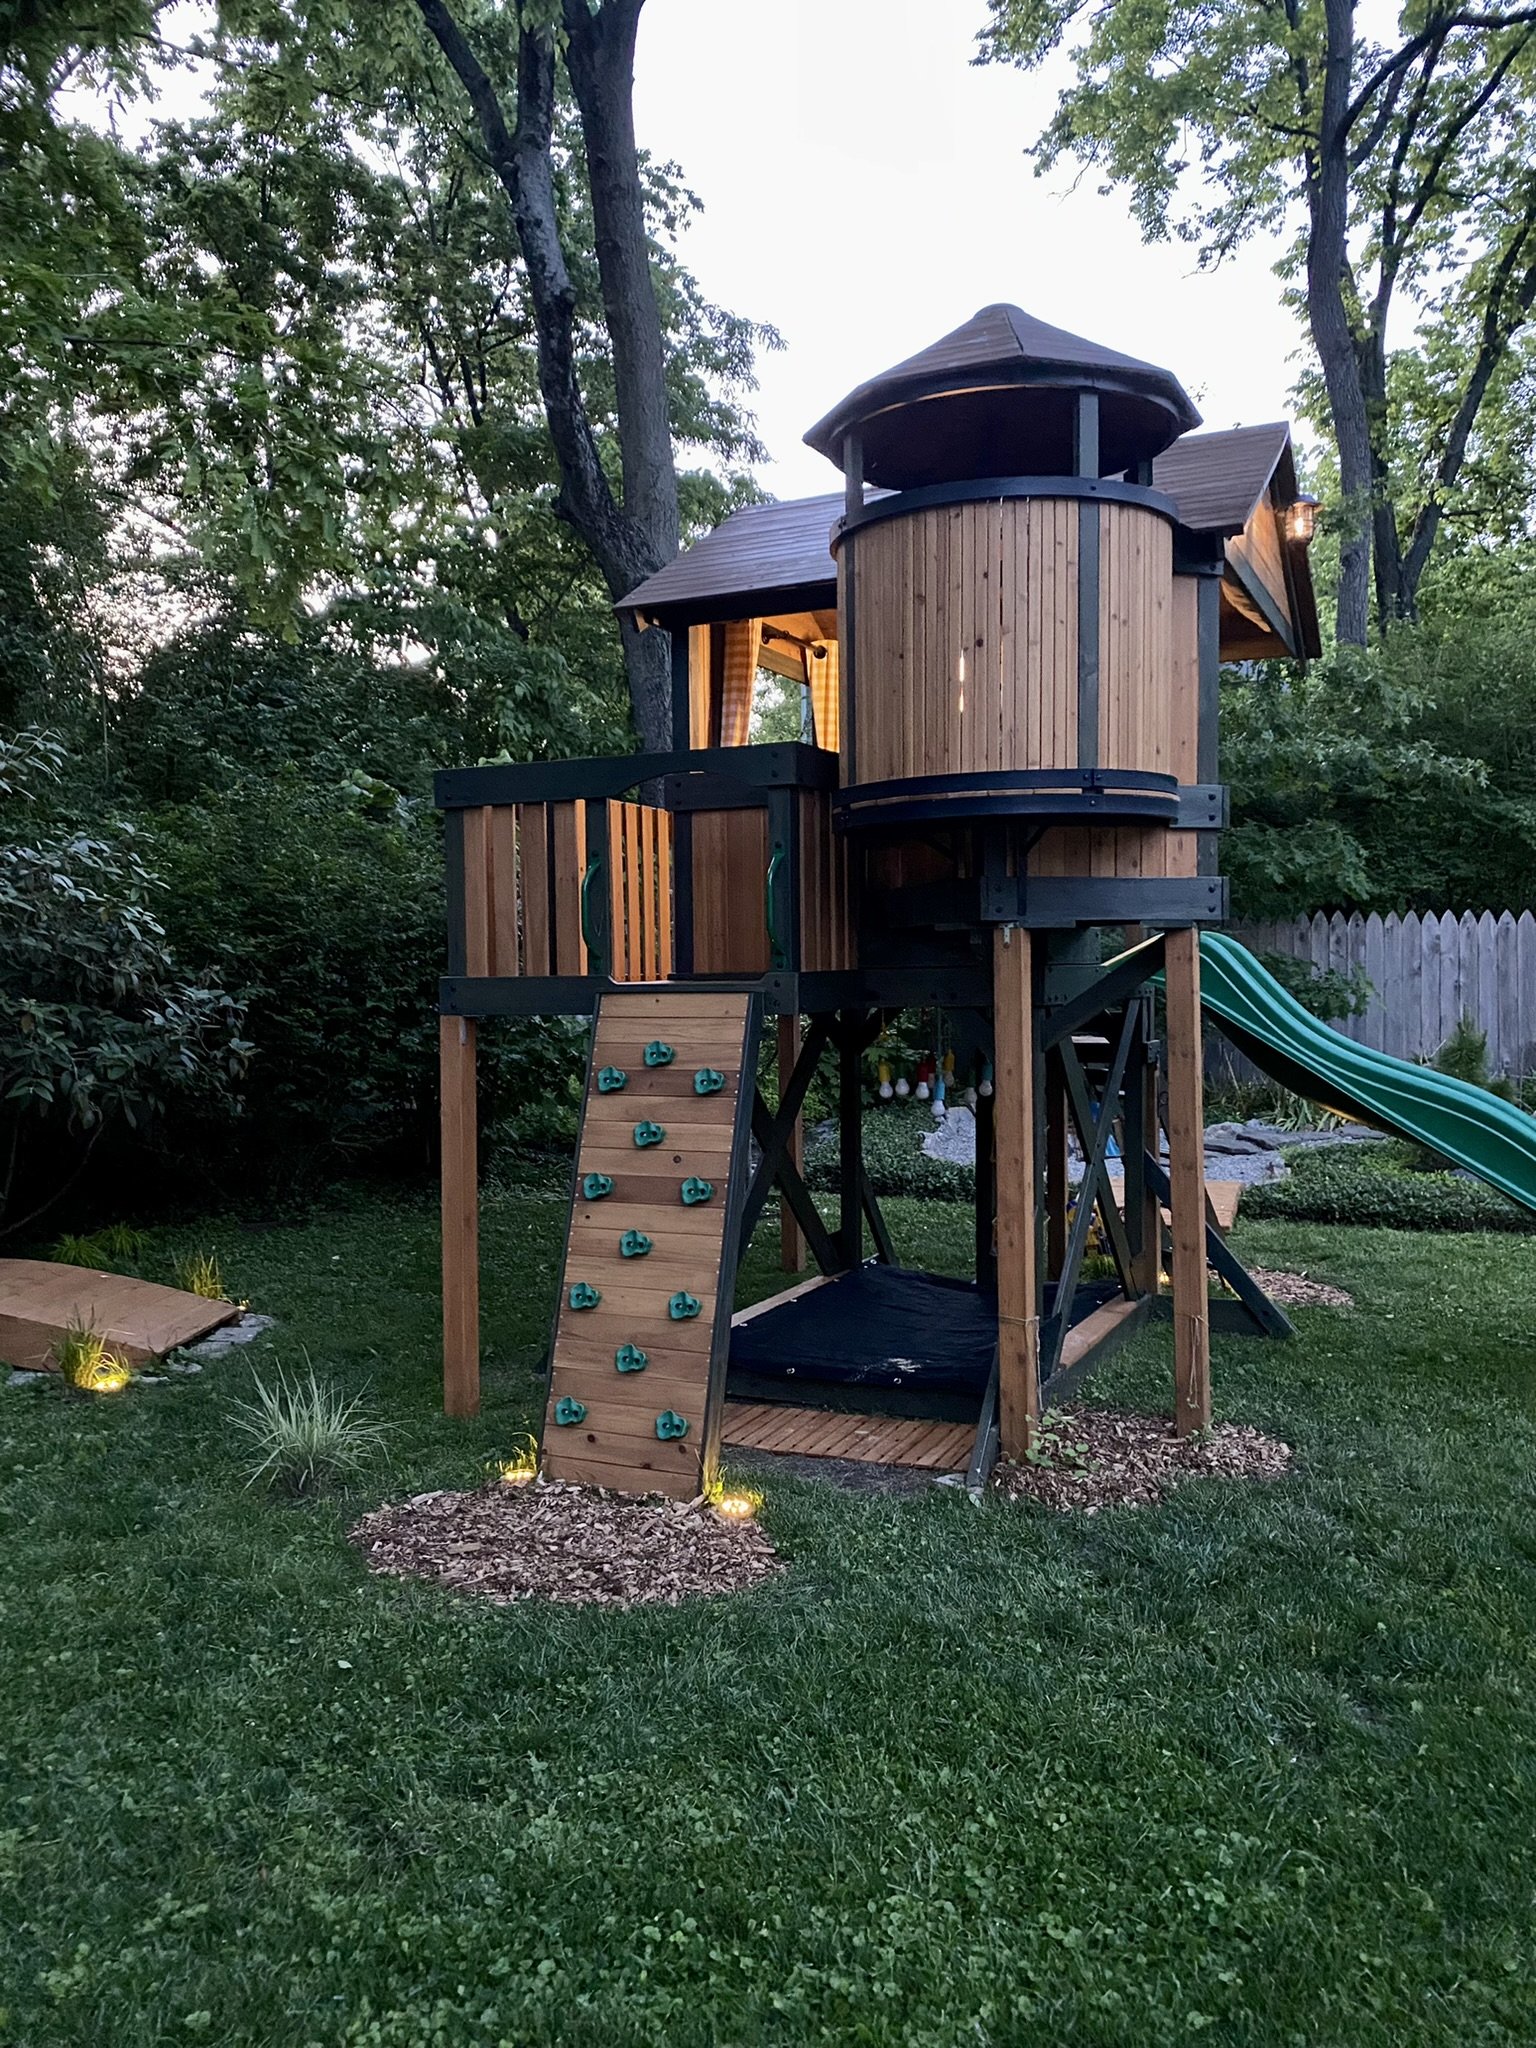
Well, hello! It’s been a good while since we went down the rabbit hole that is building a playset in our backyard. We are proud to announce its completion! This story really revolves around our kids and the desire we had to create a fun space for them that would fit seamlessly into the garden that already existed. To be honest, prior to Lauren’s research and discovery of the playset we decided upon, I was a little apprehensive about introducing a hulking piece of equipment in our natural setting. Visions of red plastic fading to pink in the long hot summer sun became a recurring nightmare. My main concern was not whether we had the space. It was more a function of how it would fit in from a stylistic point. That, and knowing I would be taking on the lion’s share of a building project that would require organization, time and clear eye for detail. Thank God for Papaw! What I learned from this experience, and what I want to pass on to you, dear reader, is that it is possible to find not only a playset that fits your style, but one that can actually be built by YOU!
One of the things that I love about this project, or any project we undertake, is the creative problem solving that we do along the way. Sometimes this is born from necessity. Such as the addition of pillars to the original design of this playset at strategic locations to reinforce the structure. At other times, it is running with an idea we have observed with our clients. In this case, clients we know so well, our very own children! The addition of the sandbox in the undercroft for instance. Early on we knew that we would want to personalize this playset for our kids. Being rooted in Glendale, a name change was necessary so we redubbed the “Eagle’s Nest” (no thank you, Hitler) to one more becoming of a Villager...the “Squirrel’s Nest” it became. From these meanderings, many wonderful avenues were explored. And, as we have shared, it is not always the outcome that we originally envisioned, but it is always with great satisfaction that we arrive at our destination. It is not from a lack of planning, but rather an appreciation of the fluid nature of such projects and the firm conviction that we are on a journey and that it is our own. Please feel free to take the steps you wish to make it your very own adventure and share it with us!
Q&A
In retrospect, what do you wish you knew before starting this project?
First and foremost, I wish I had a better idea of how much time it would take me to construct the playset. It was something entirely new to me. It would have gone a lot faster had I been better organized from the start. Also, the print instructions and the BILT app did not correspond exactly. I used the BILT app for most of the construction (see photo) and found the 3D rendering to be very useful, however there were discrepancies between the app, the labeled building supplies, and the print instructions. You need all three together to unravel some of the building steps. The print instructions are your go-to resource when all else fails. All of the steps are represented therein.
Just as an example, the print instructions do not specify the Item # for any of the supplied hardware. A bolt is indicated in the print instructions as a “Bolt WH 5/16x4 ¾ BLK”” on page 56 titled “Step 16” whereas in the BILT app it is “Step 90” and the bolt is indicated as “Bolt WH 5/16x3 ¾ BLK-H100415”. The packaging of the hardware lists the Item # H100415 followed by the “Bolt WH 5/16x3 ¾ BLK”. It is important to reconcile the print instructions with the BILT app from time to time. All in all, the BILT app is where you should start, even before your packages arrive, to familiarize yourself with the process. It was fairly easy to use, with the modifications I mentioned above. It did make the process of construction much easier. You can literally have the basic steps in your back pocket!
What were some of the biggest challenges?
The biggest challenge is organizing the materials. At first, I had them in their original boxes. There were six enormous boxes (see photo). They are packaged according to there size, not to any particular steps in the construction. This was not conducive to the build as I spent a good amount of time that first day trying to locate things. YOU GOTTA GET ORGANIZED!
Any surprises?
The biggest surprise was how much time it took me to complete this project. While I mostly worked alone, the BILT app says for two people it can take 14 hours. It took me, mostly working alone, a full work week! I am indebted to Papaw for assisting me with some of the grunt work and heavy lifting. The print instructions offer an installation service, but you can save close to $1000 by doing this yourself!
What tips & tricks would you recommend to others who bravely take on this massive project?
Get familiar with the build prior to its arrival by downloading the BILT app for free. This way you can get a feel for the layout and how to best organize the materials.
Choose a level area that does not collect standing water when it rains. Don’t worry about mulching/landscaping until it's all up and built to specifications.
Plan on having some help. I needed help moving the boxes to a dry location on arrival and with a few of the heavy lifting steps in the process. Otherwise, having an extra pair of hands can be useful in speeding up this process.
On receiving your boxes, make sure you check them for any exterior damage! The support for this particular product was fantastic. They will replace and send any extra hardware you need, but it takes some time.
Do NOT skip around with the steps. It may feel like you are going to save time, but there is a method to the order.
Organize your materials! Start by taking all the items out of the boxes and organizing them by the alpha numeric letter combination stamped on each item. There were a few items that did not appear to be stamped, but it is easy enough to sort them based on the shape and color. I used a bulletin board for the hardware. For the larger quantities of bolts and screws, a small plastic filing cabinet was my best friend!
Always reconcile what you’re using with the BILT app with the print out instructions!
YOU MUST APPLY A CLEAR SEALANT. While the wood comes stained, it is in need of protection. After you’ve got it up, it’s time to preserve your hard work. I used Valspar’s One-Coat Exterior Sealer (Clear).
Was it all worth it?
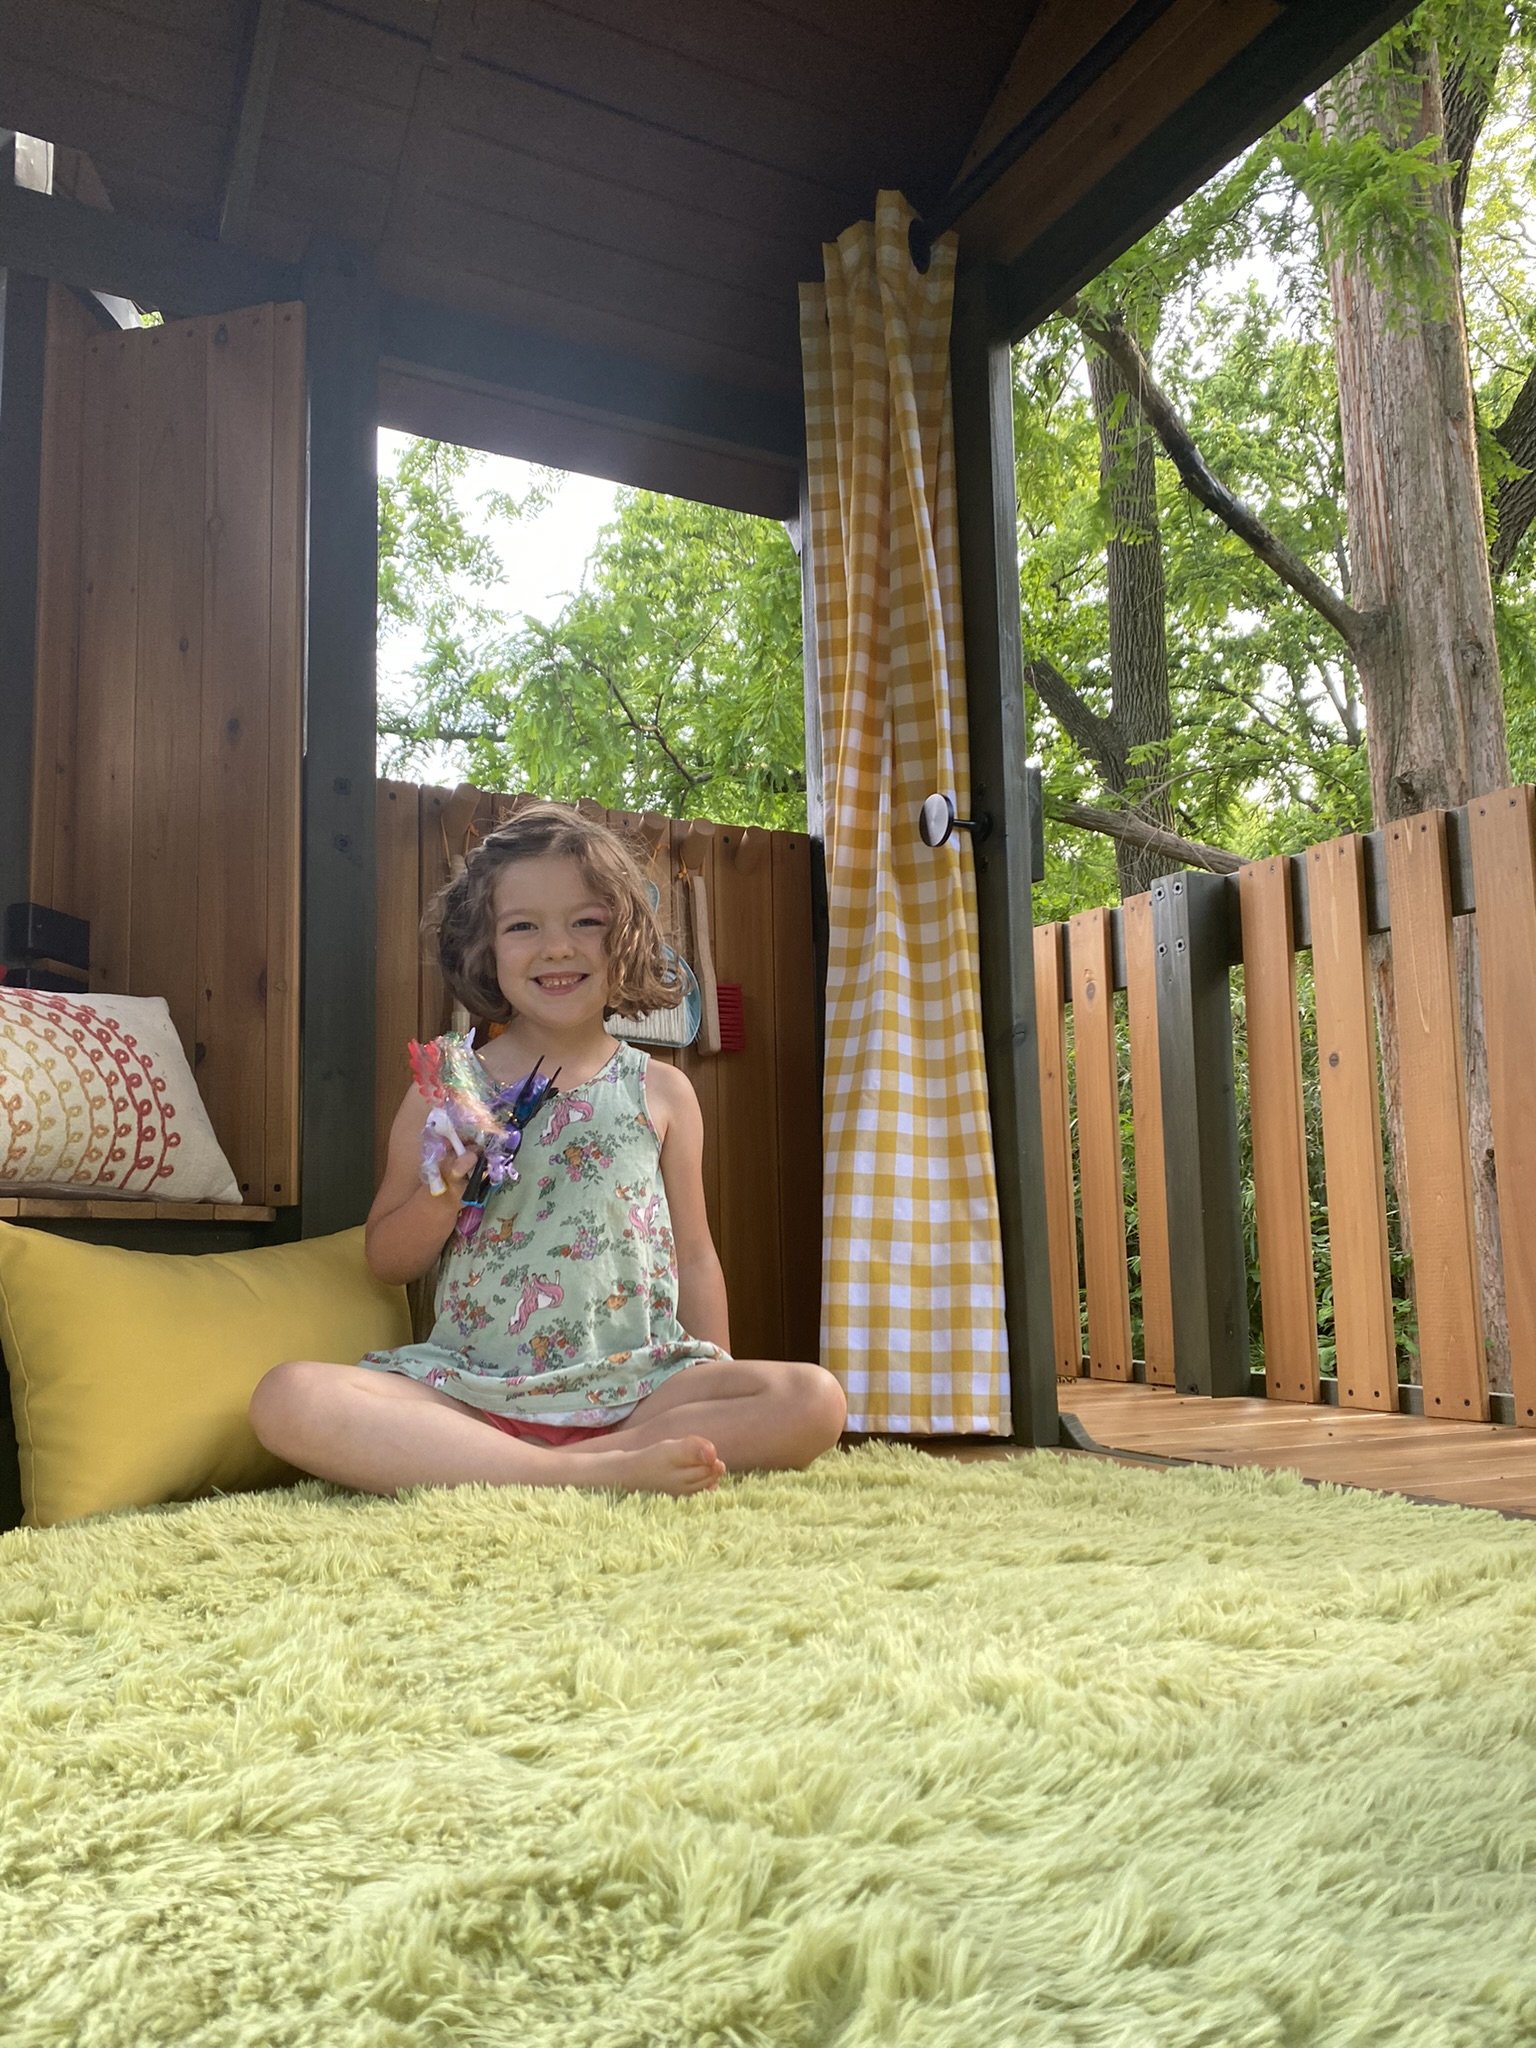
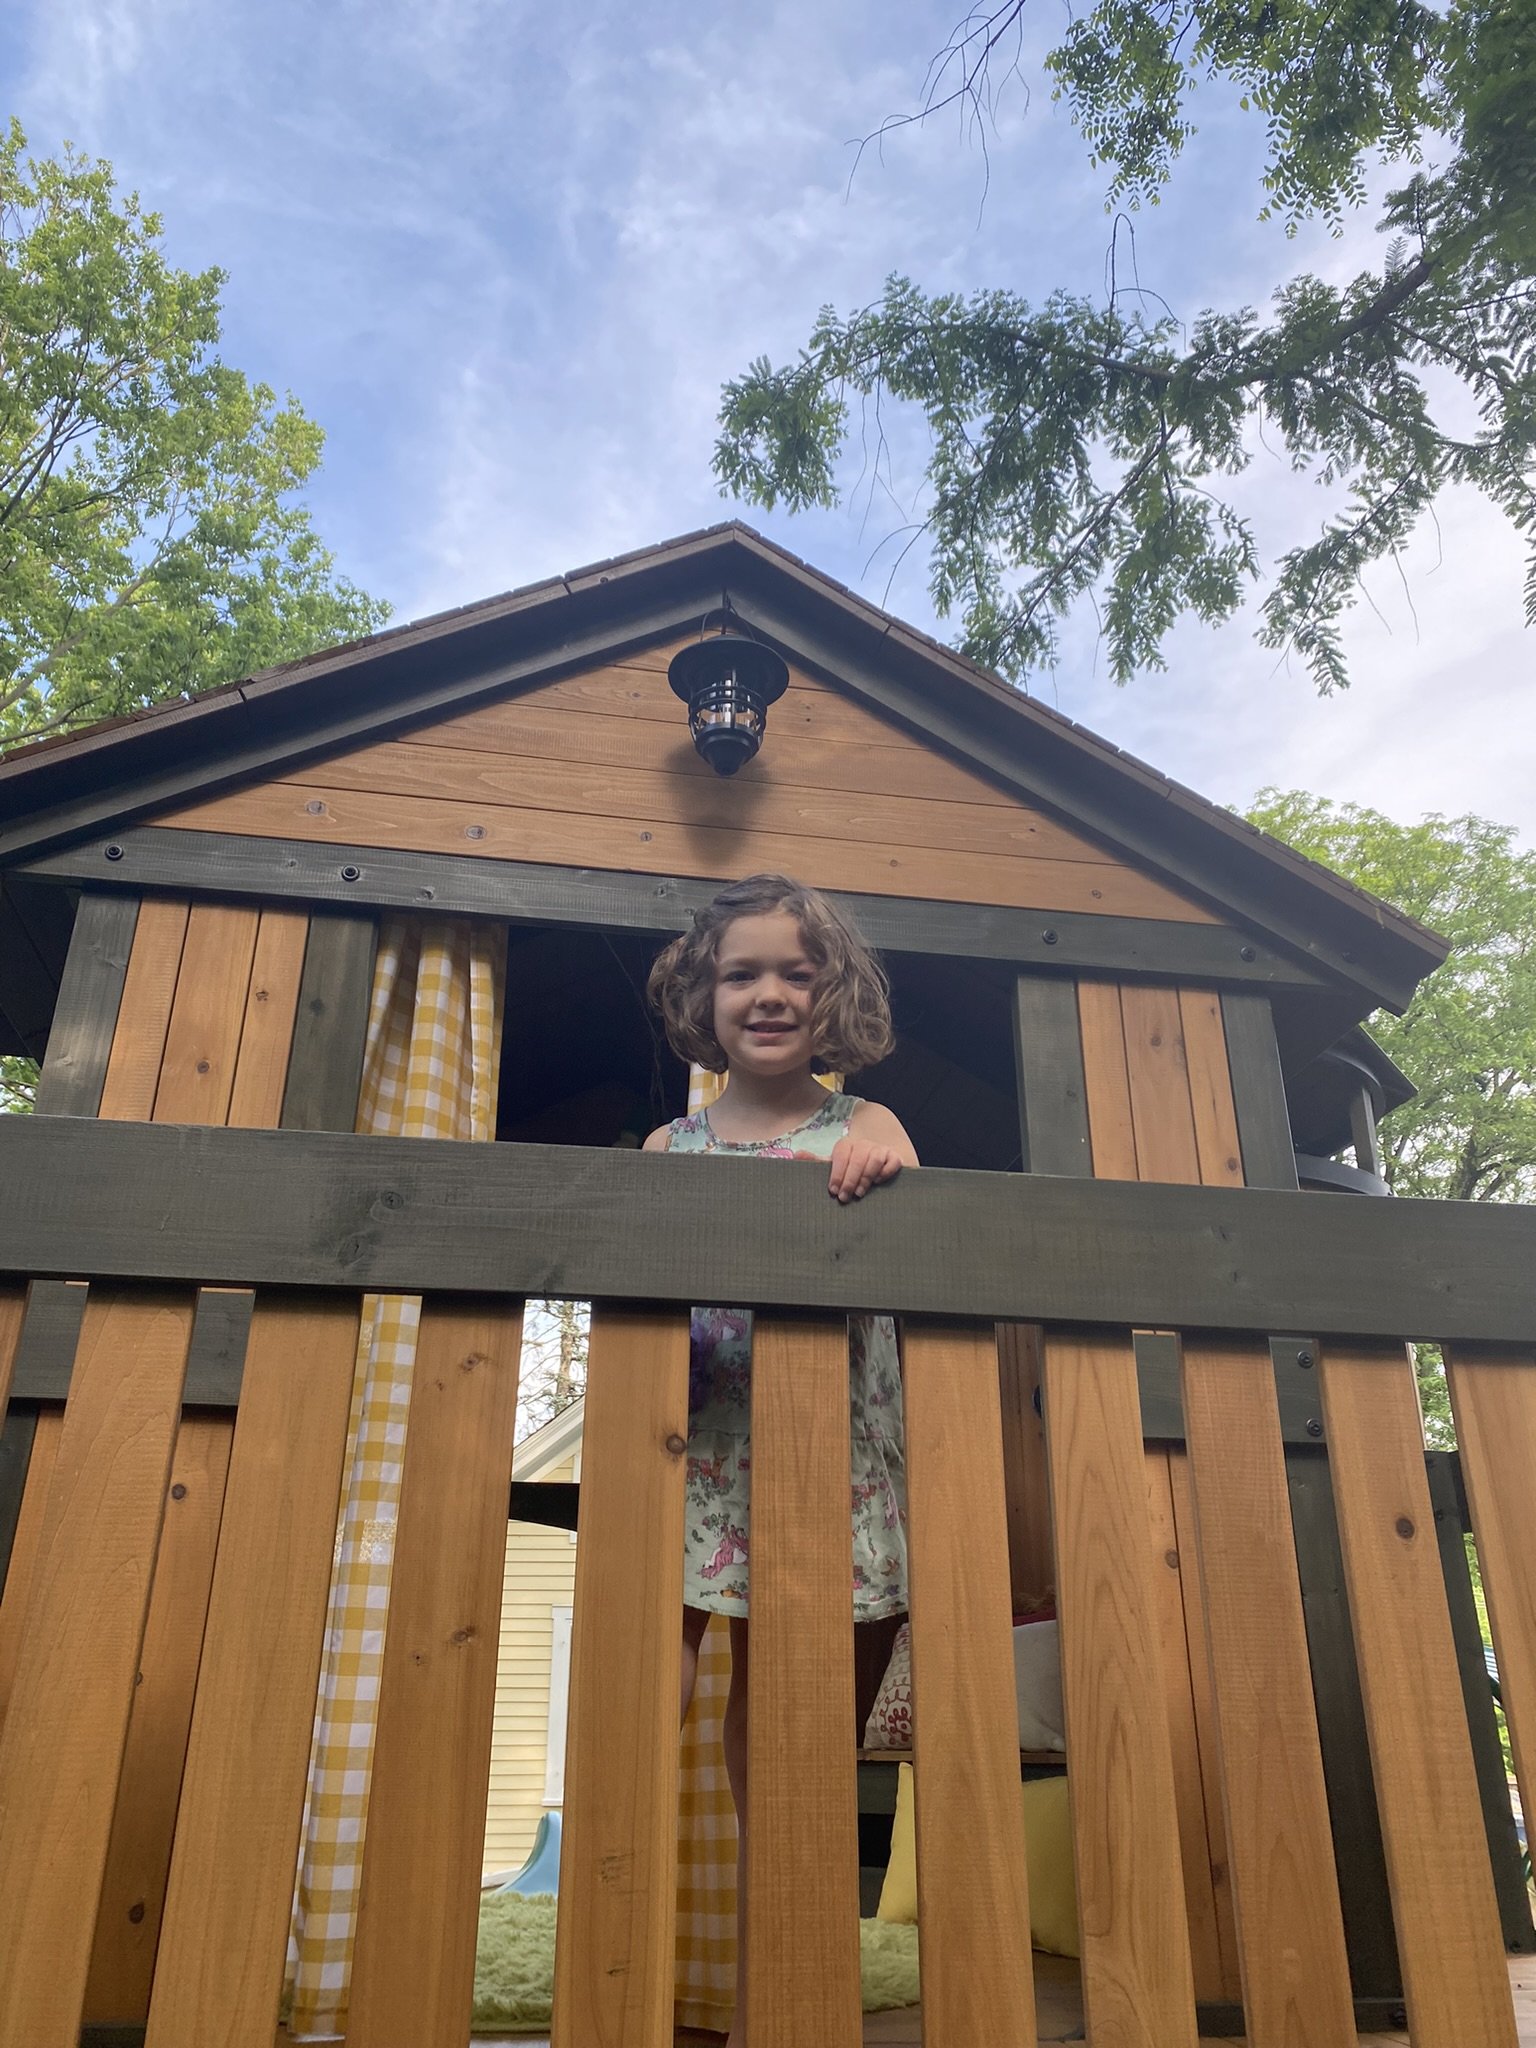
Watching our kids play, every day, making use of this playset is what drove us to do this. And it has paid off in watching their enjoyment AND the time that Lauren and I can spend relaxing watching them play! So, yes. I would do it all again. I just don’t want to do it over!
The Gallery


The Products

The Playset


The Cleaning Tools

The Chalk Boards

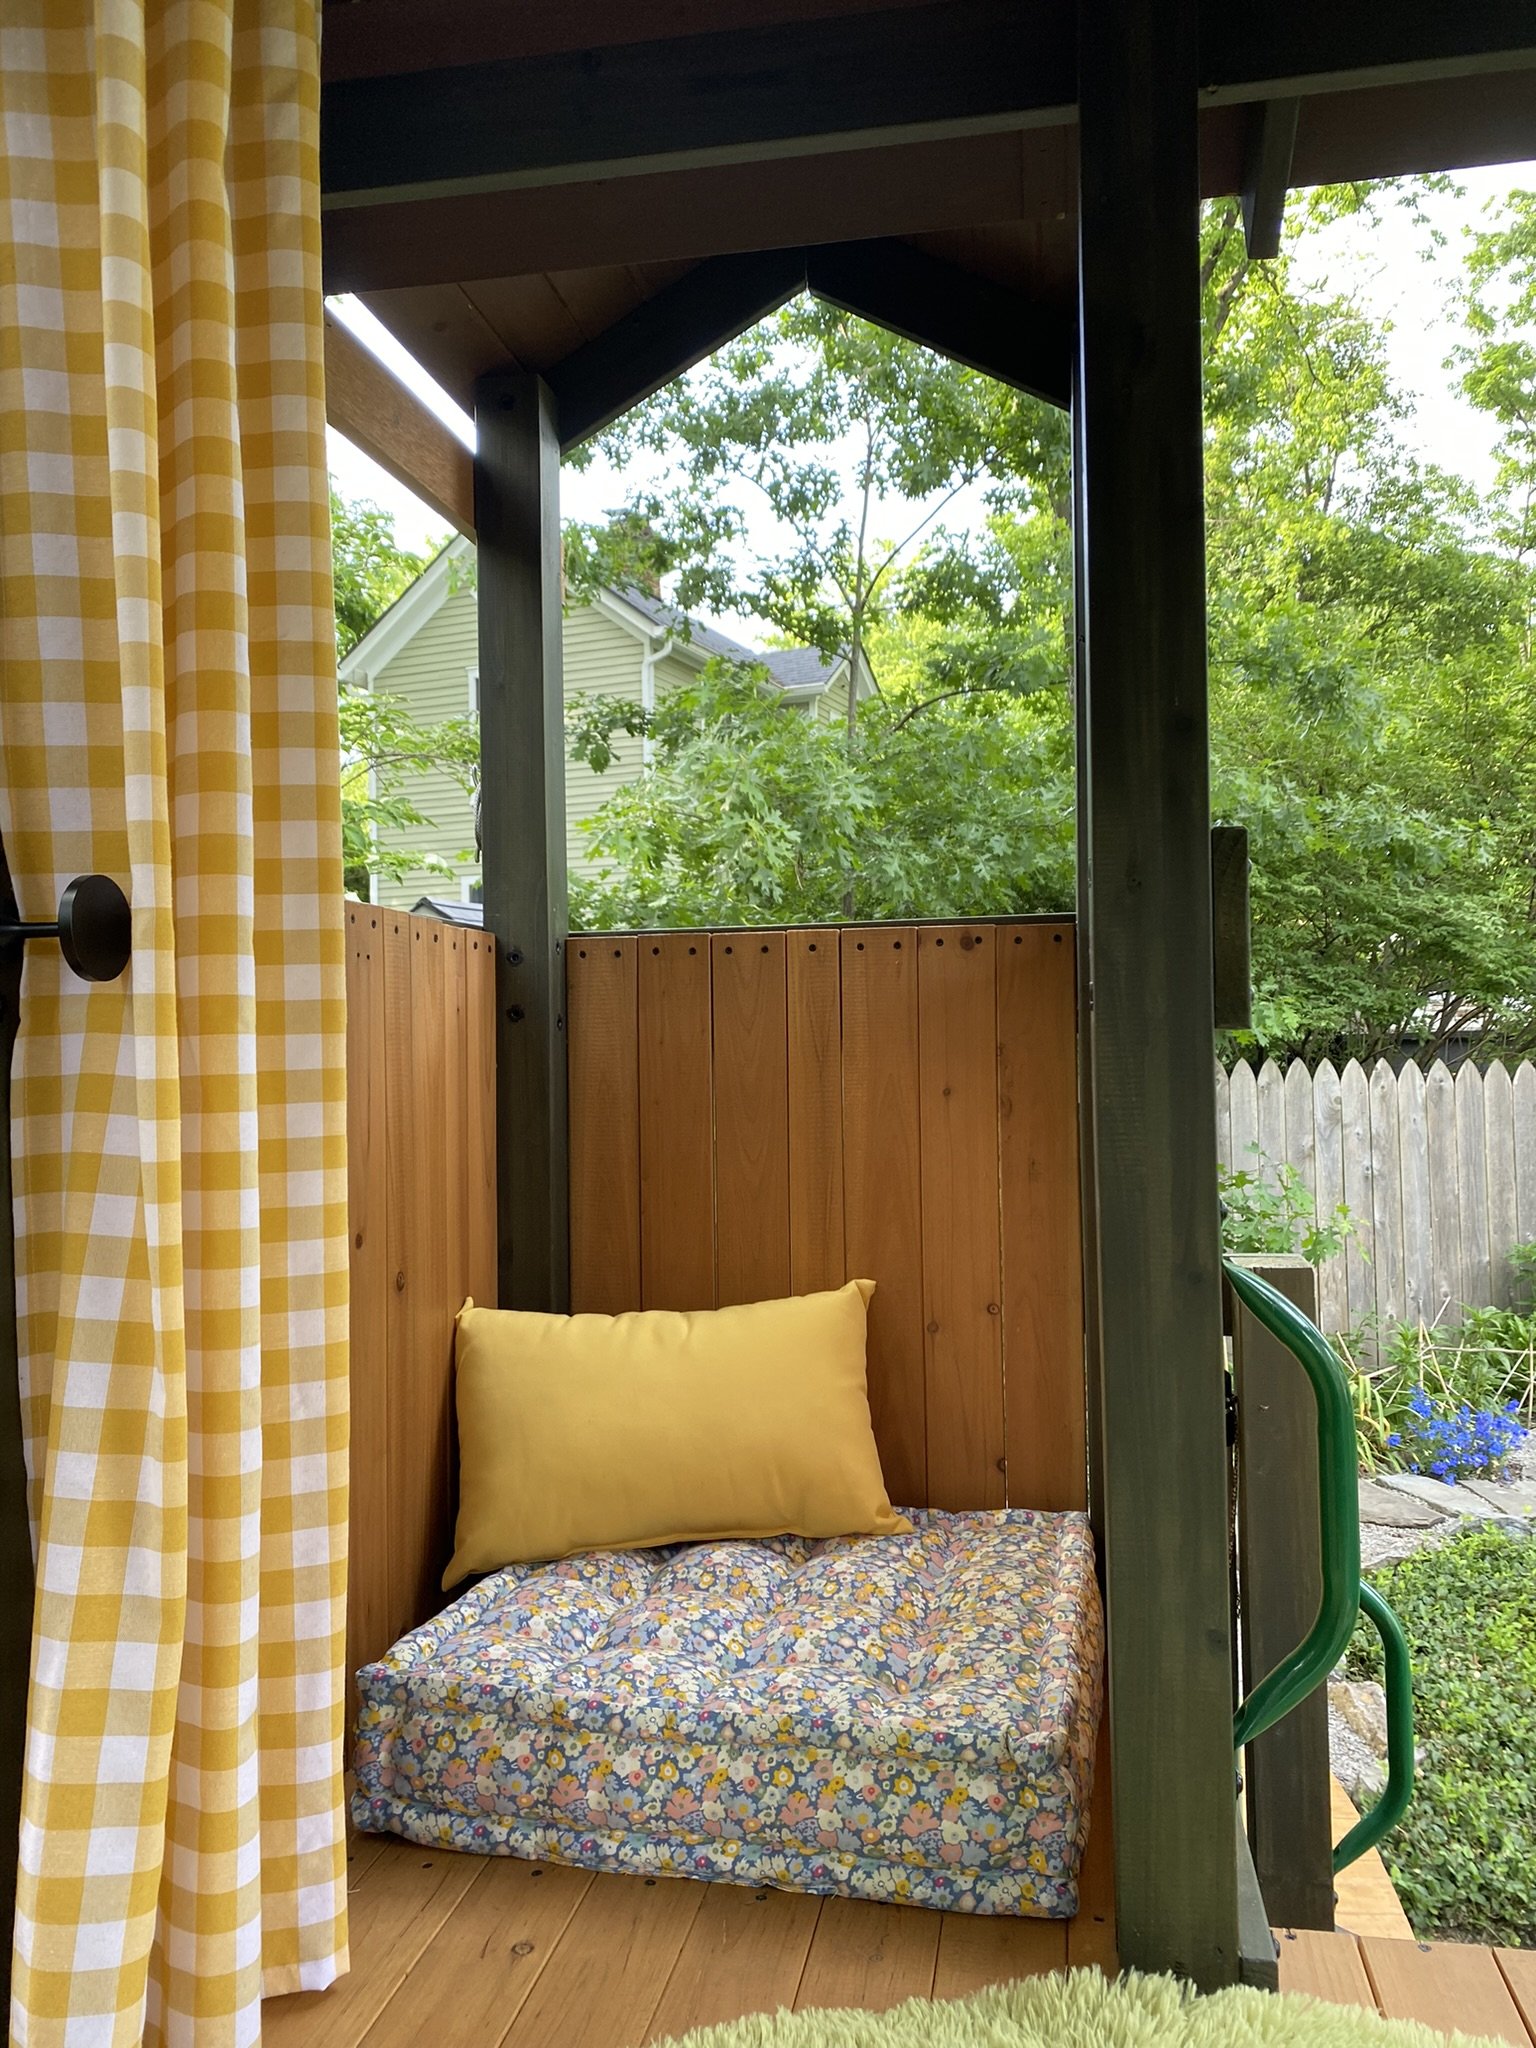
The Cushions


The Dinner Bell
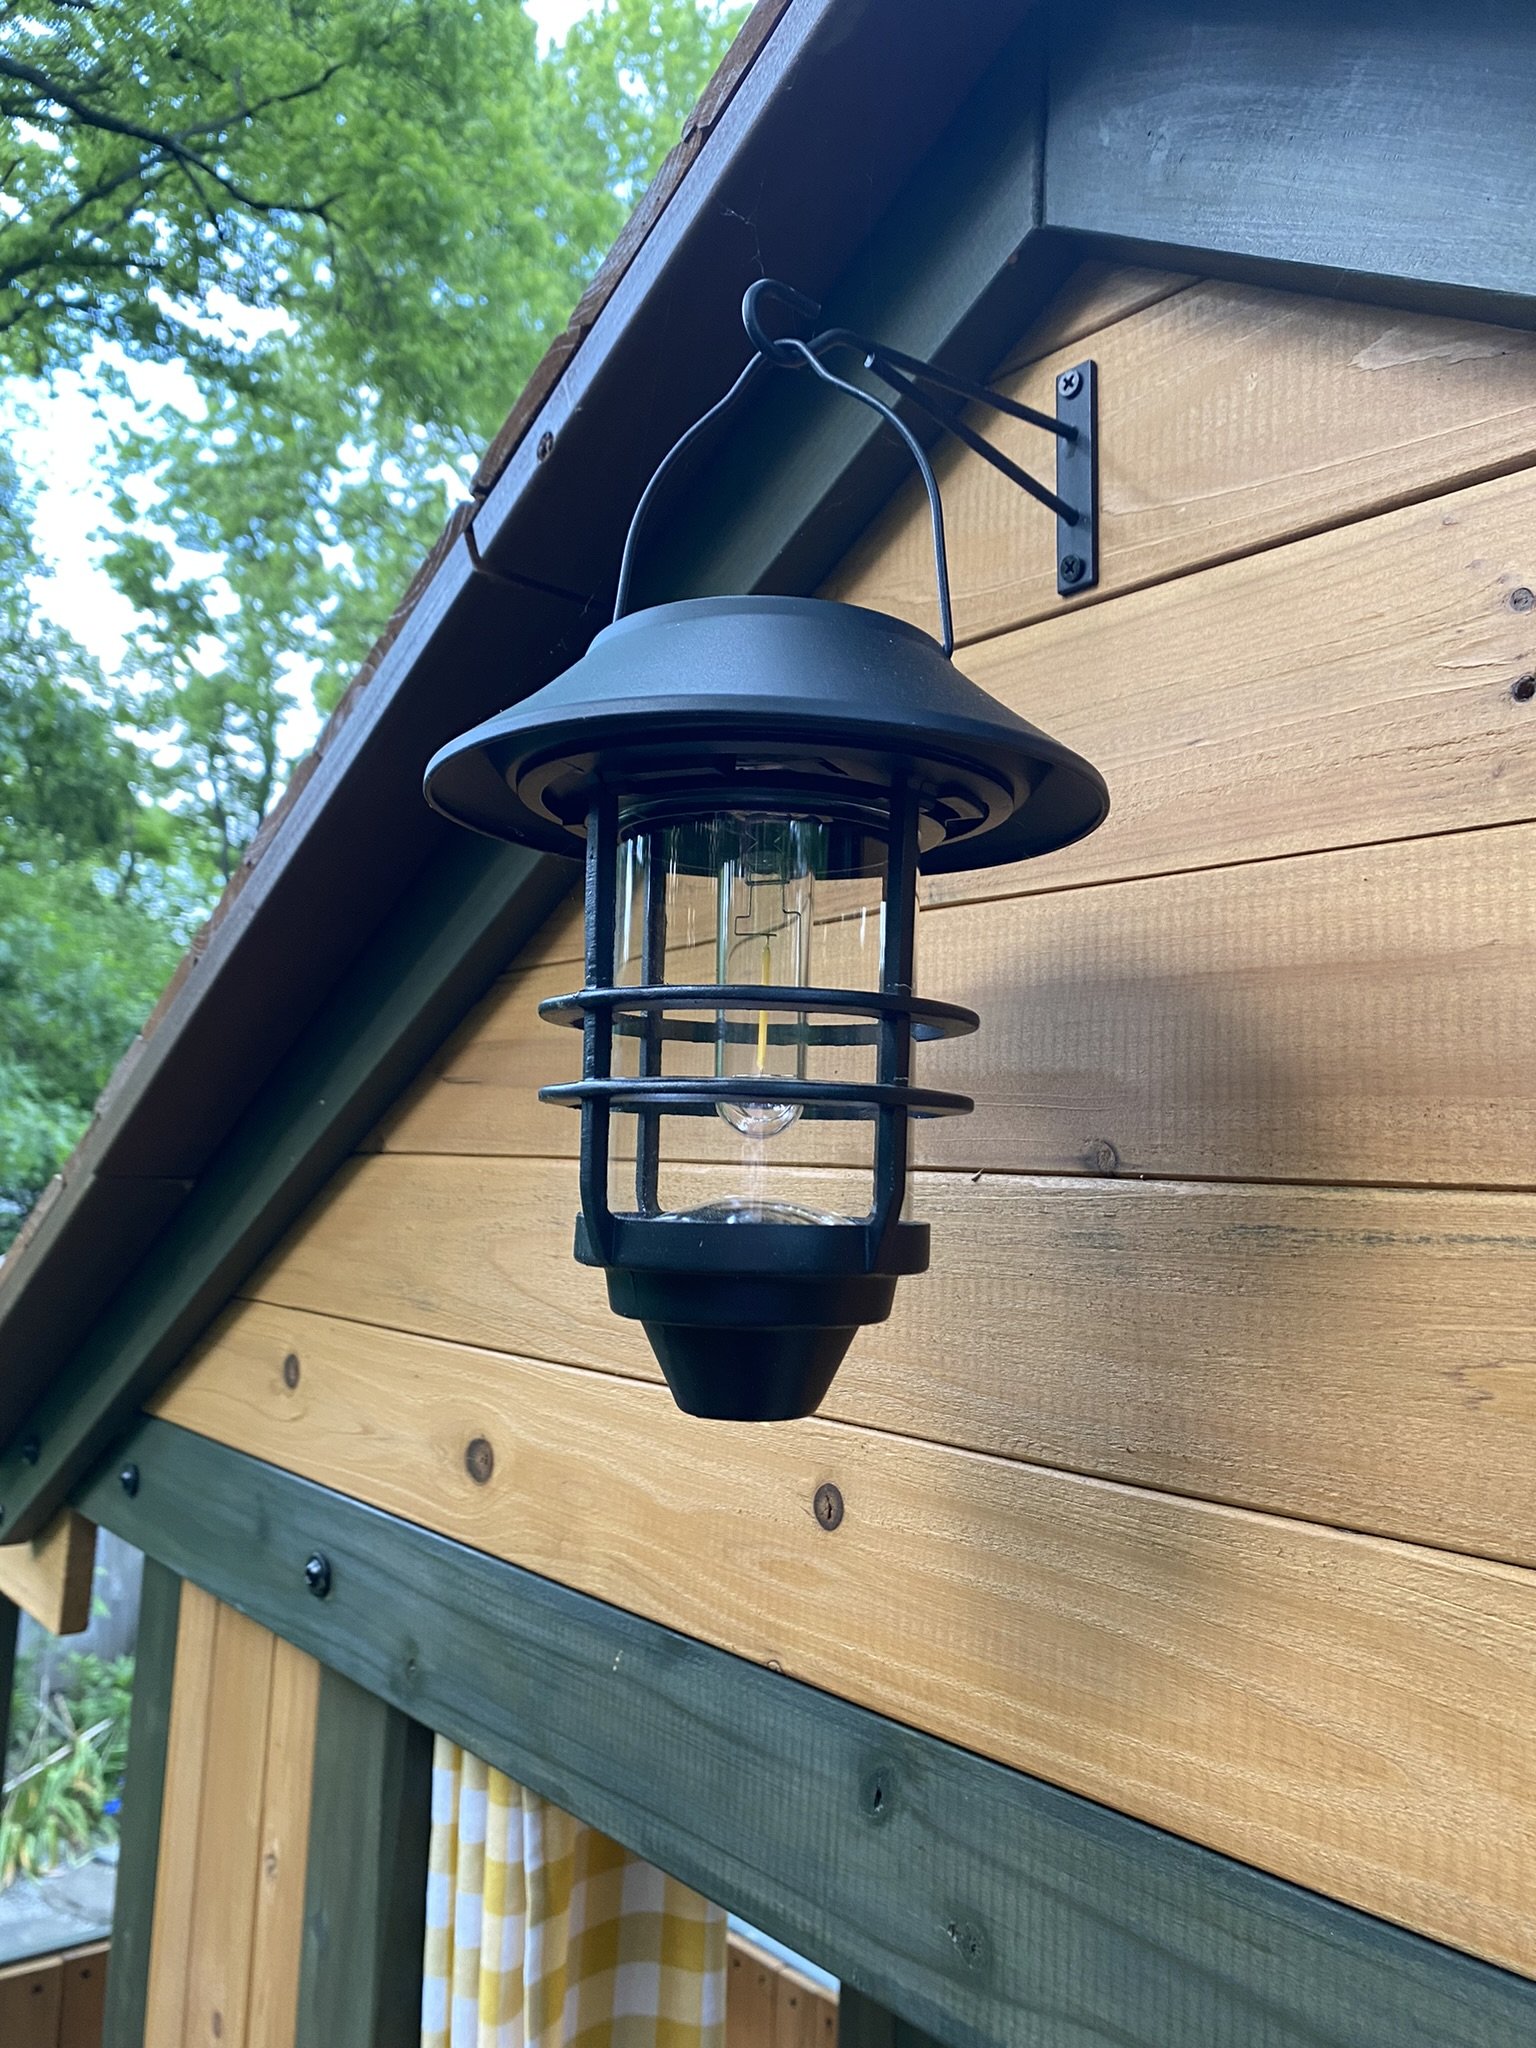
The Hanging Lanterns

The Light Bulbs

The Ground Lights

The Bucket & Pulley System

The Sandbox Accessories

The Mirror Ball