DIY Thanksgiving Décor - Pumpkin Centerpiece

The Overview
Looking for an DIY project to anchor your Thanksgiving tablescape? We were too and were inspired to create a pumpkin centerpiece for our Thanksgiving table this year (the kids even got involved). Check out our DIY pumpkin centerpiece for the perfect addition to your Thanksgiving table.
Skill Level - Intermediate
Time Commitment - Approximately 2 hours of active work (divided). This project could be completed in an afternoon. Kids can help with (optional) painting.
The Tools & Materials
Tools
Planning Tools
Dry erase marker
Building Tools
Paring knife
Spoon
Paint brush(es)
Materials
Fresh flowers
Pumpkin (approximately 10 inches wide) - We used a faux pumpkin but you could also use a real pumpkin for this project.
Wet floral foam
Clear plastic container to hold water at the bottom of the pumpkin (approximately 6 inches wide)
Craft or acrylic paint (optional)


The Steps

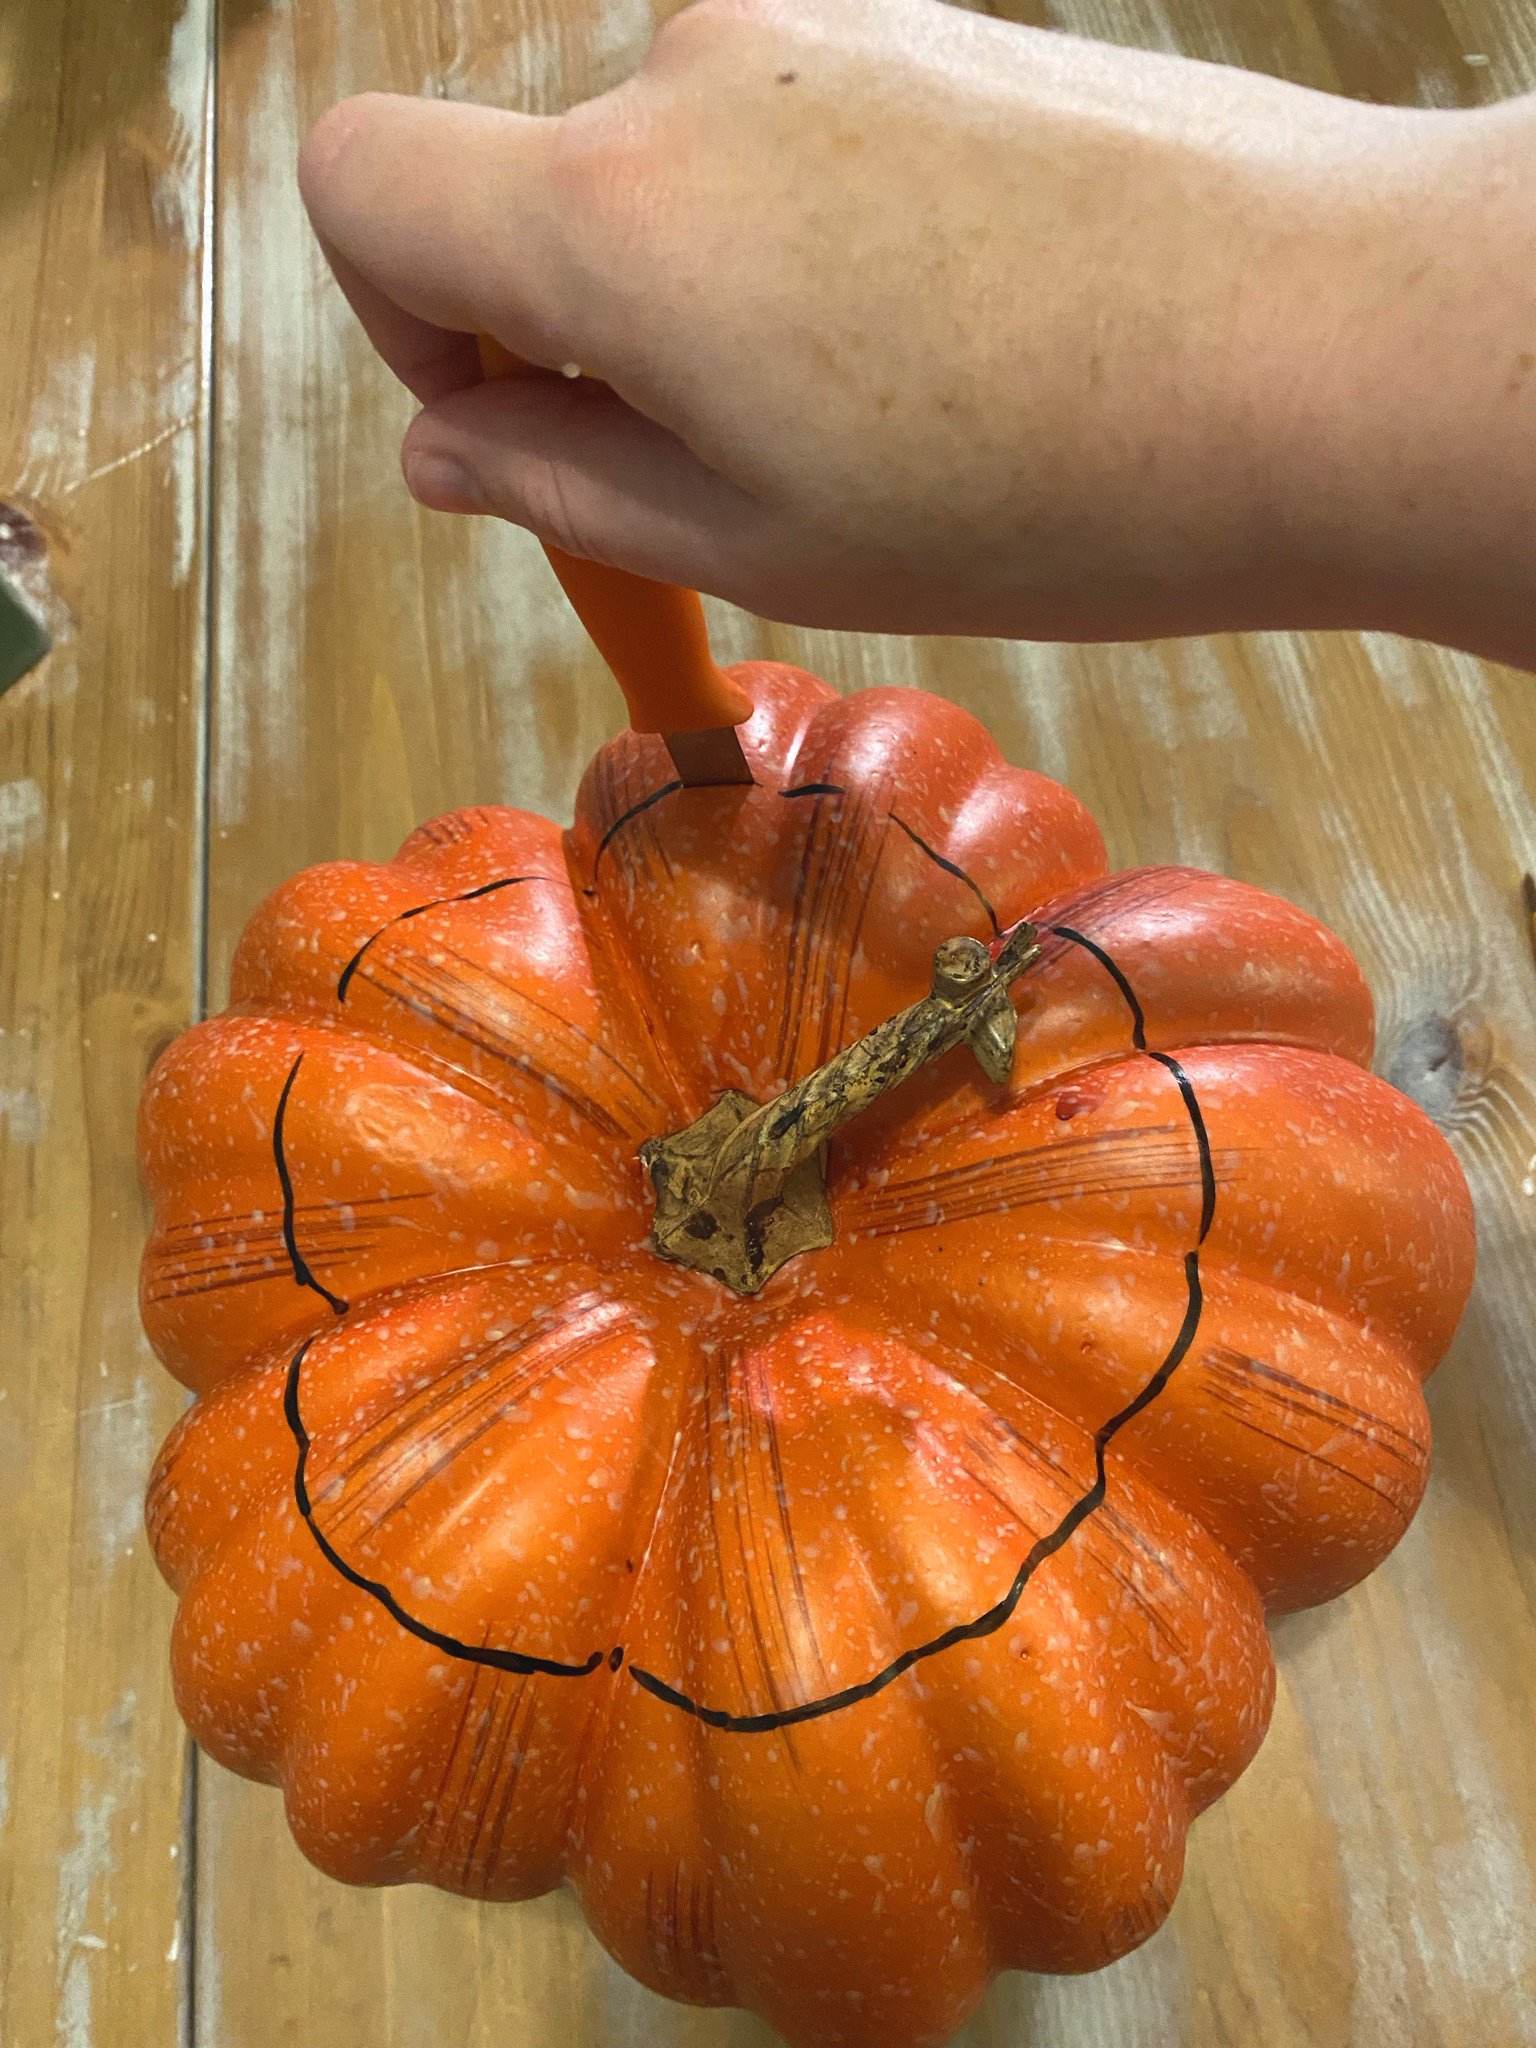
Step 1
Use the clear plastic container to trace the opening, centered on the top of the pumpkin.

Step 2
Using the paring knife, cut a hole in the top of the pumpkin. Use the spoon if necessary to scoop out the rest of the pumpkin. There should be enough space for the clear plastic container to sit inside the pumpkin approximately 3-4 inches from the top.

Step 3
Place the clear plastic container inside of the carved out pumpkin.

Step 4
Next, if desired, paint the pumpkin using the acrylic paint. This is a fun way to involve the kids.

Step 5
Let the paint dry about an hour between coats and it may need 2-3 coats for full coverage.

Step 6
Cut the floral foam to fit the dimensions of the pumpkin vase.

Step 7
Soak the floral foam in water for a few minutes until saturated then place back in the vase.

Step 8
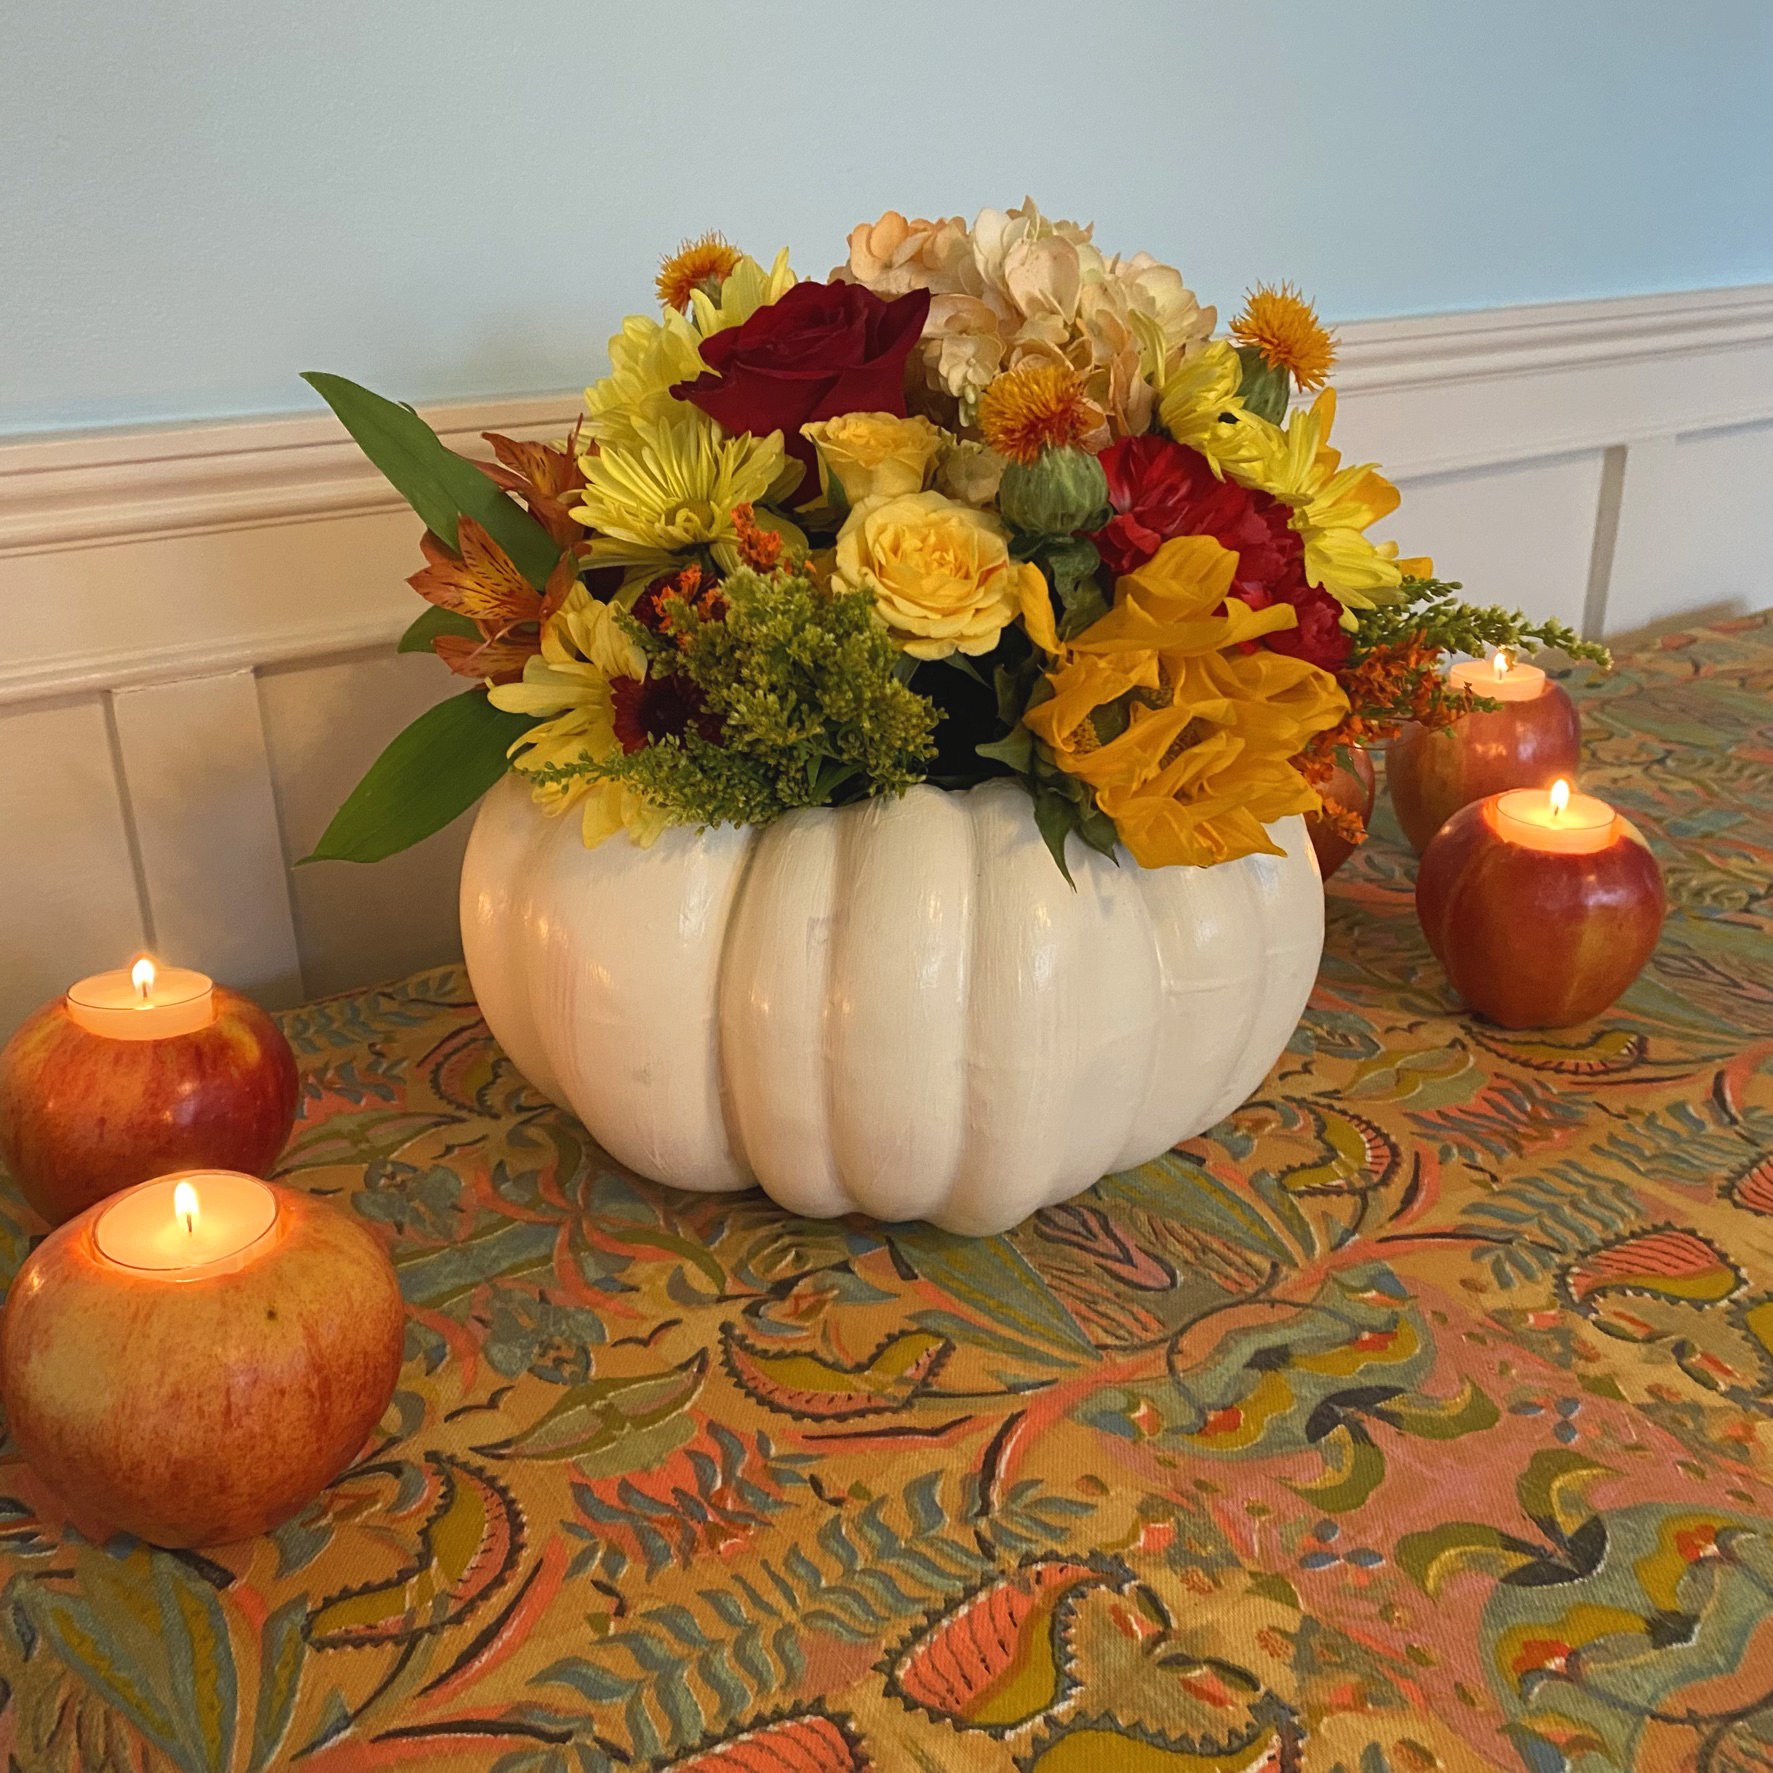
Cut the flower stems and insert them into the wet foam one at a time. Start with the largest flowers (bloom size), and place similar flowers at different angles around the vase. We cut our flowers at heights varying between 6-9 inches.

Step 9
Once it’s finished, use to decorate table and enjoy! This centerpiece pairs well with our DIY apple votives.
Tips & Tricks
Use a dry erase marker for easy clean up.
For best results, choose flowers with a variety of colors, textures and heights.