DIY Valentine's Garland

The Overview
One of our favorite holiday traditions is sending and receiving holiday cards. We get excited each and every time a new card comes in the mail and display them along a garland in our dining room (the heart of our home). When the not so fun task of taking down holiday decorations arrives, the cards are typically the last left standing. Honestly, we can’t bring ourselves to get rid of them and so they typically move around in a stack from surface to surface until they finally get thrown out (recycled) or put into a box in the basement never to see the light of day again. That’s why I was so excited when I saw this Valentine’s garland idea. I still had our holiday cards stacked on a shelf in our office so I dusted them off and created this beautiful banner which, like the holiday cards, will also hang in the heart of our home this February.
Skill Level - Beginner
Time Commitment - Approximately 30-45 minutes or less. This project could be completed in an afternoon. Kids can help with (optional) heart punches.
The Tools & Materials
Tools
Building Tools
Scissors
Pencil/pen for tracing
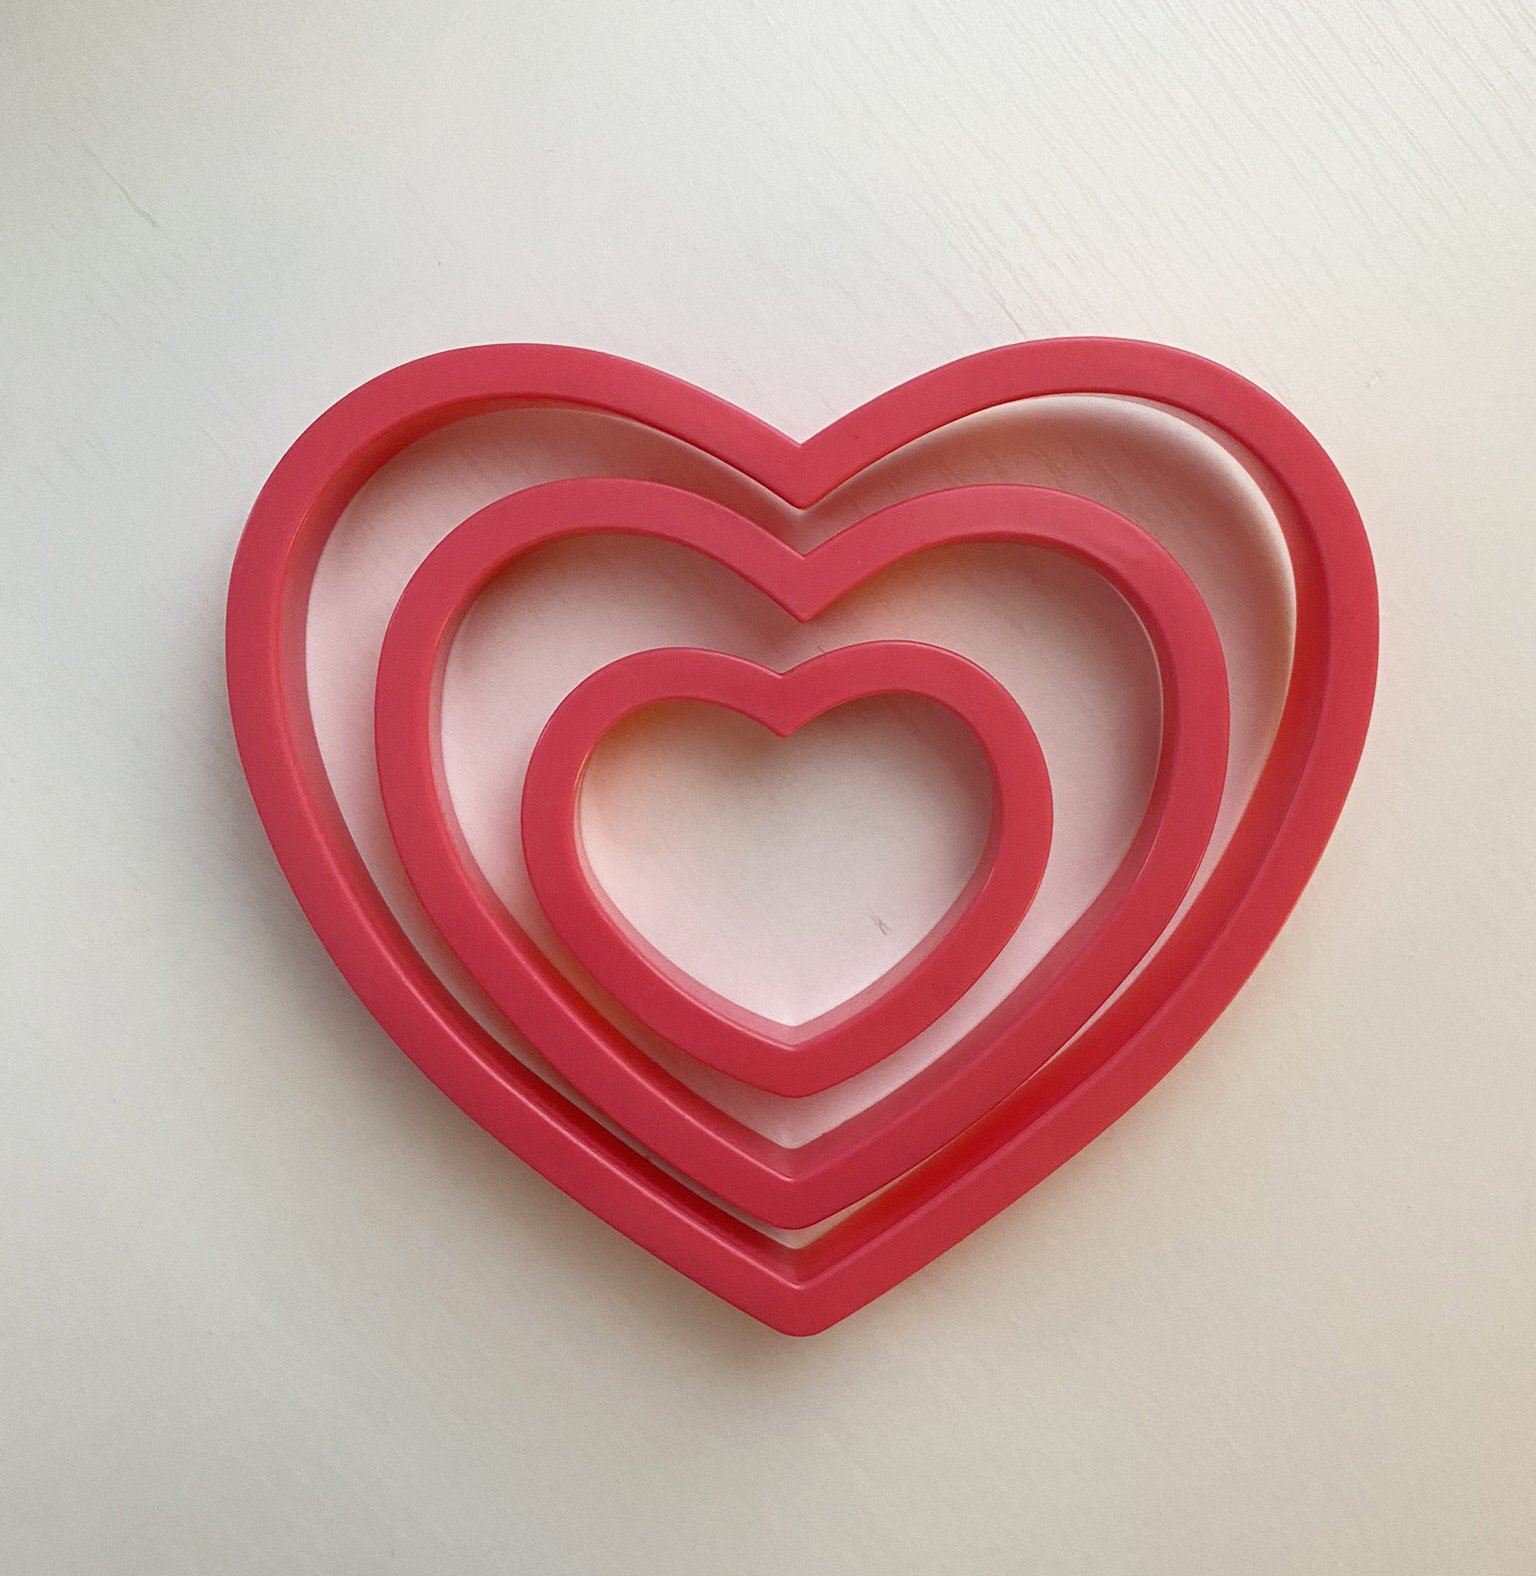
Heart template(s) - we used heart shaped cookie cutters (4”, 3” and 2”)
Heart punch (optional) - we used this 2” punch
Materials
Holiday cards
Tape
String or ribbon
Red construction paper (optional)


The Steps

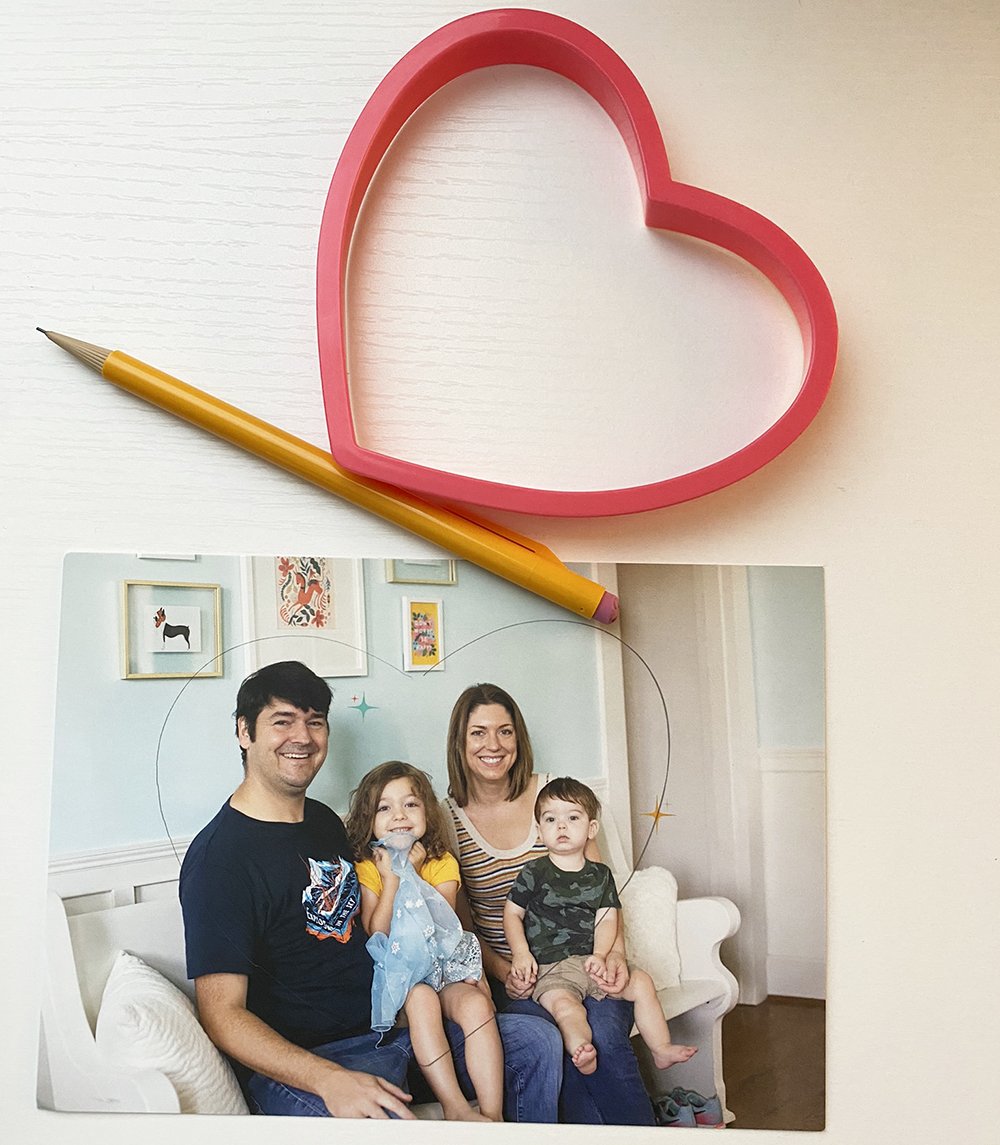
Step 1
Position the template on the card.

Step 2
Trace the heart shape onto the card..

Step 3
Cut out the hearts. Repeat steps 1-3 for all holiday cards.

Step 4
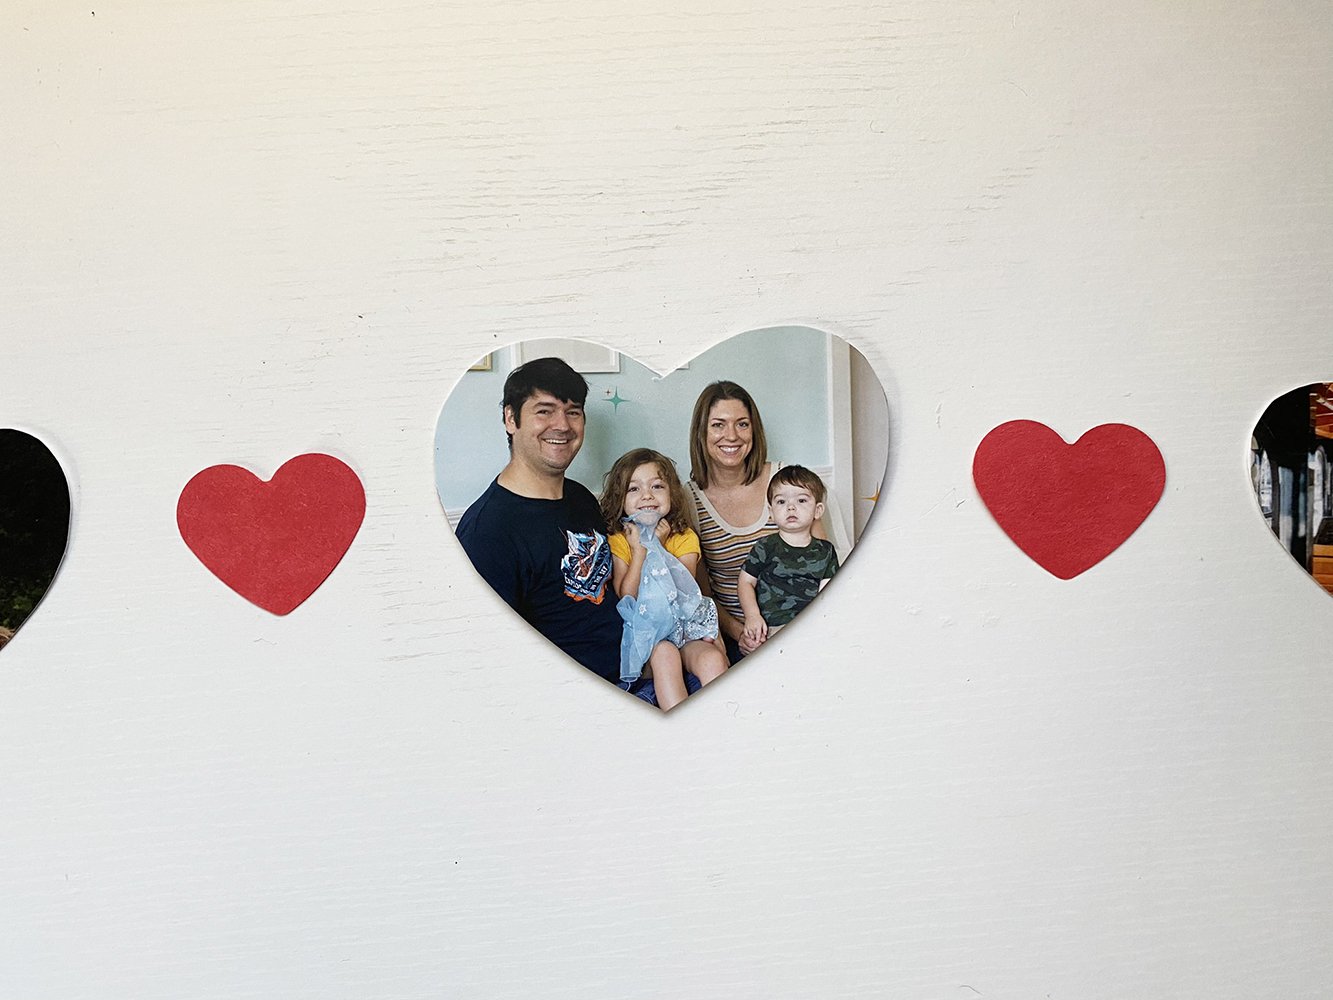
Next, if desired, punch out the small red hearts using the construction paper and heart-shaped hole punch. This is a fun activity for kids.
Step 5
Once all pieces have been cut out, lay out your design.
Step 6
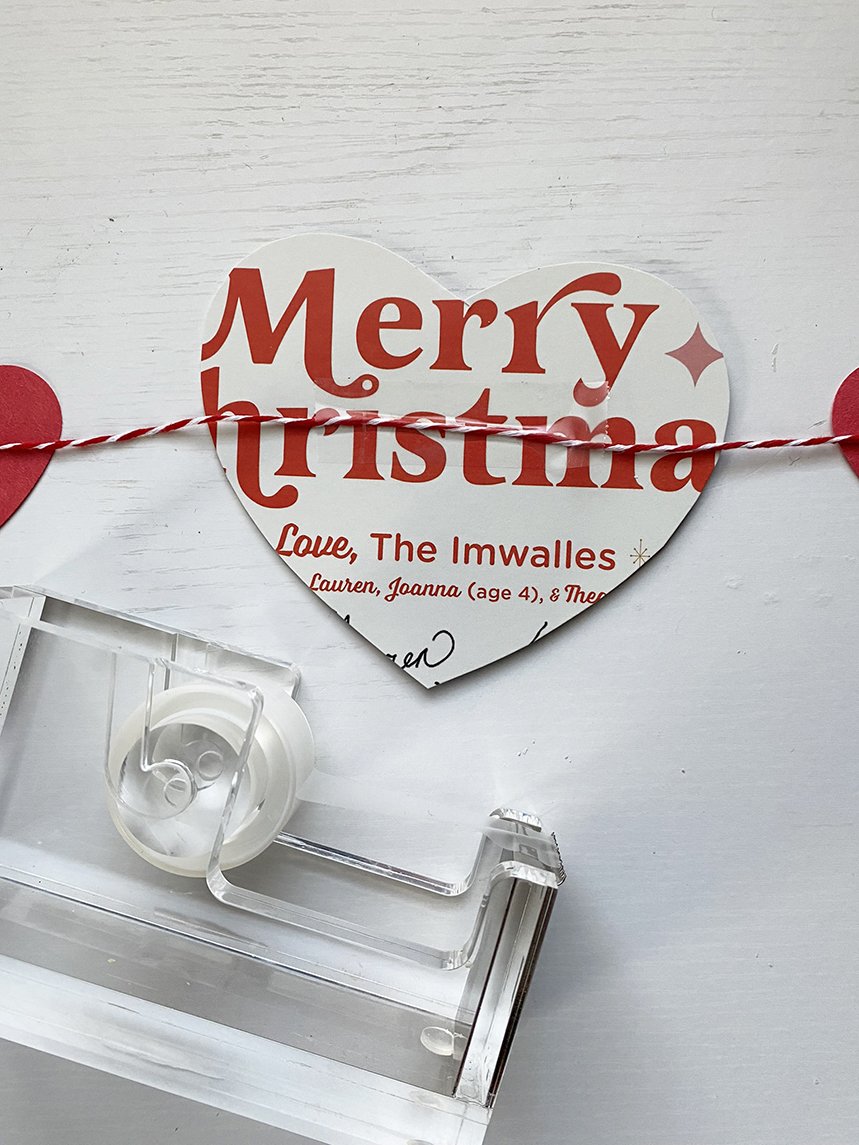
Once the design has been set, flip the cards over. Lay the string across the back of the cards and tape to each card or heart. Leave about 6 inches or so of extra string on each end.

Step 7
Tie a small loop at each end of the garland. To do so, I tied a loop into double-knot around my finger and cut off the excess string.
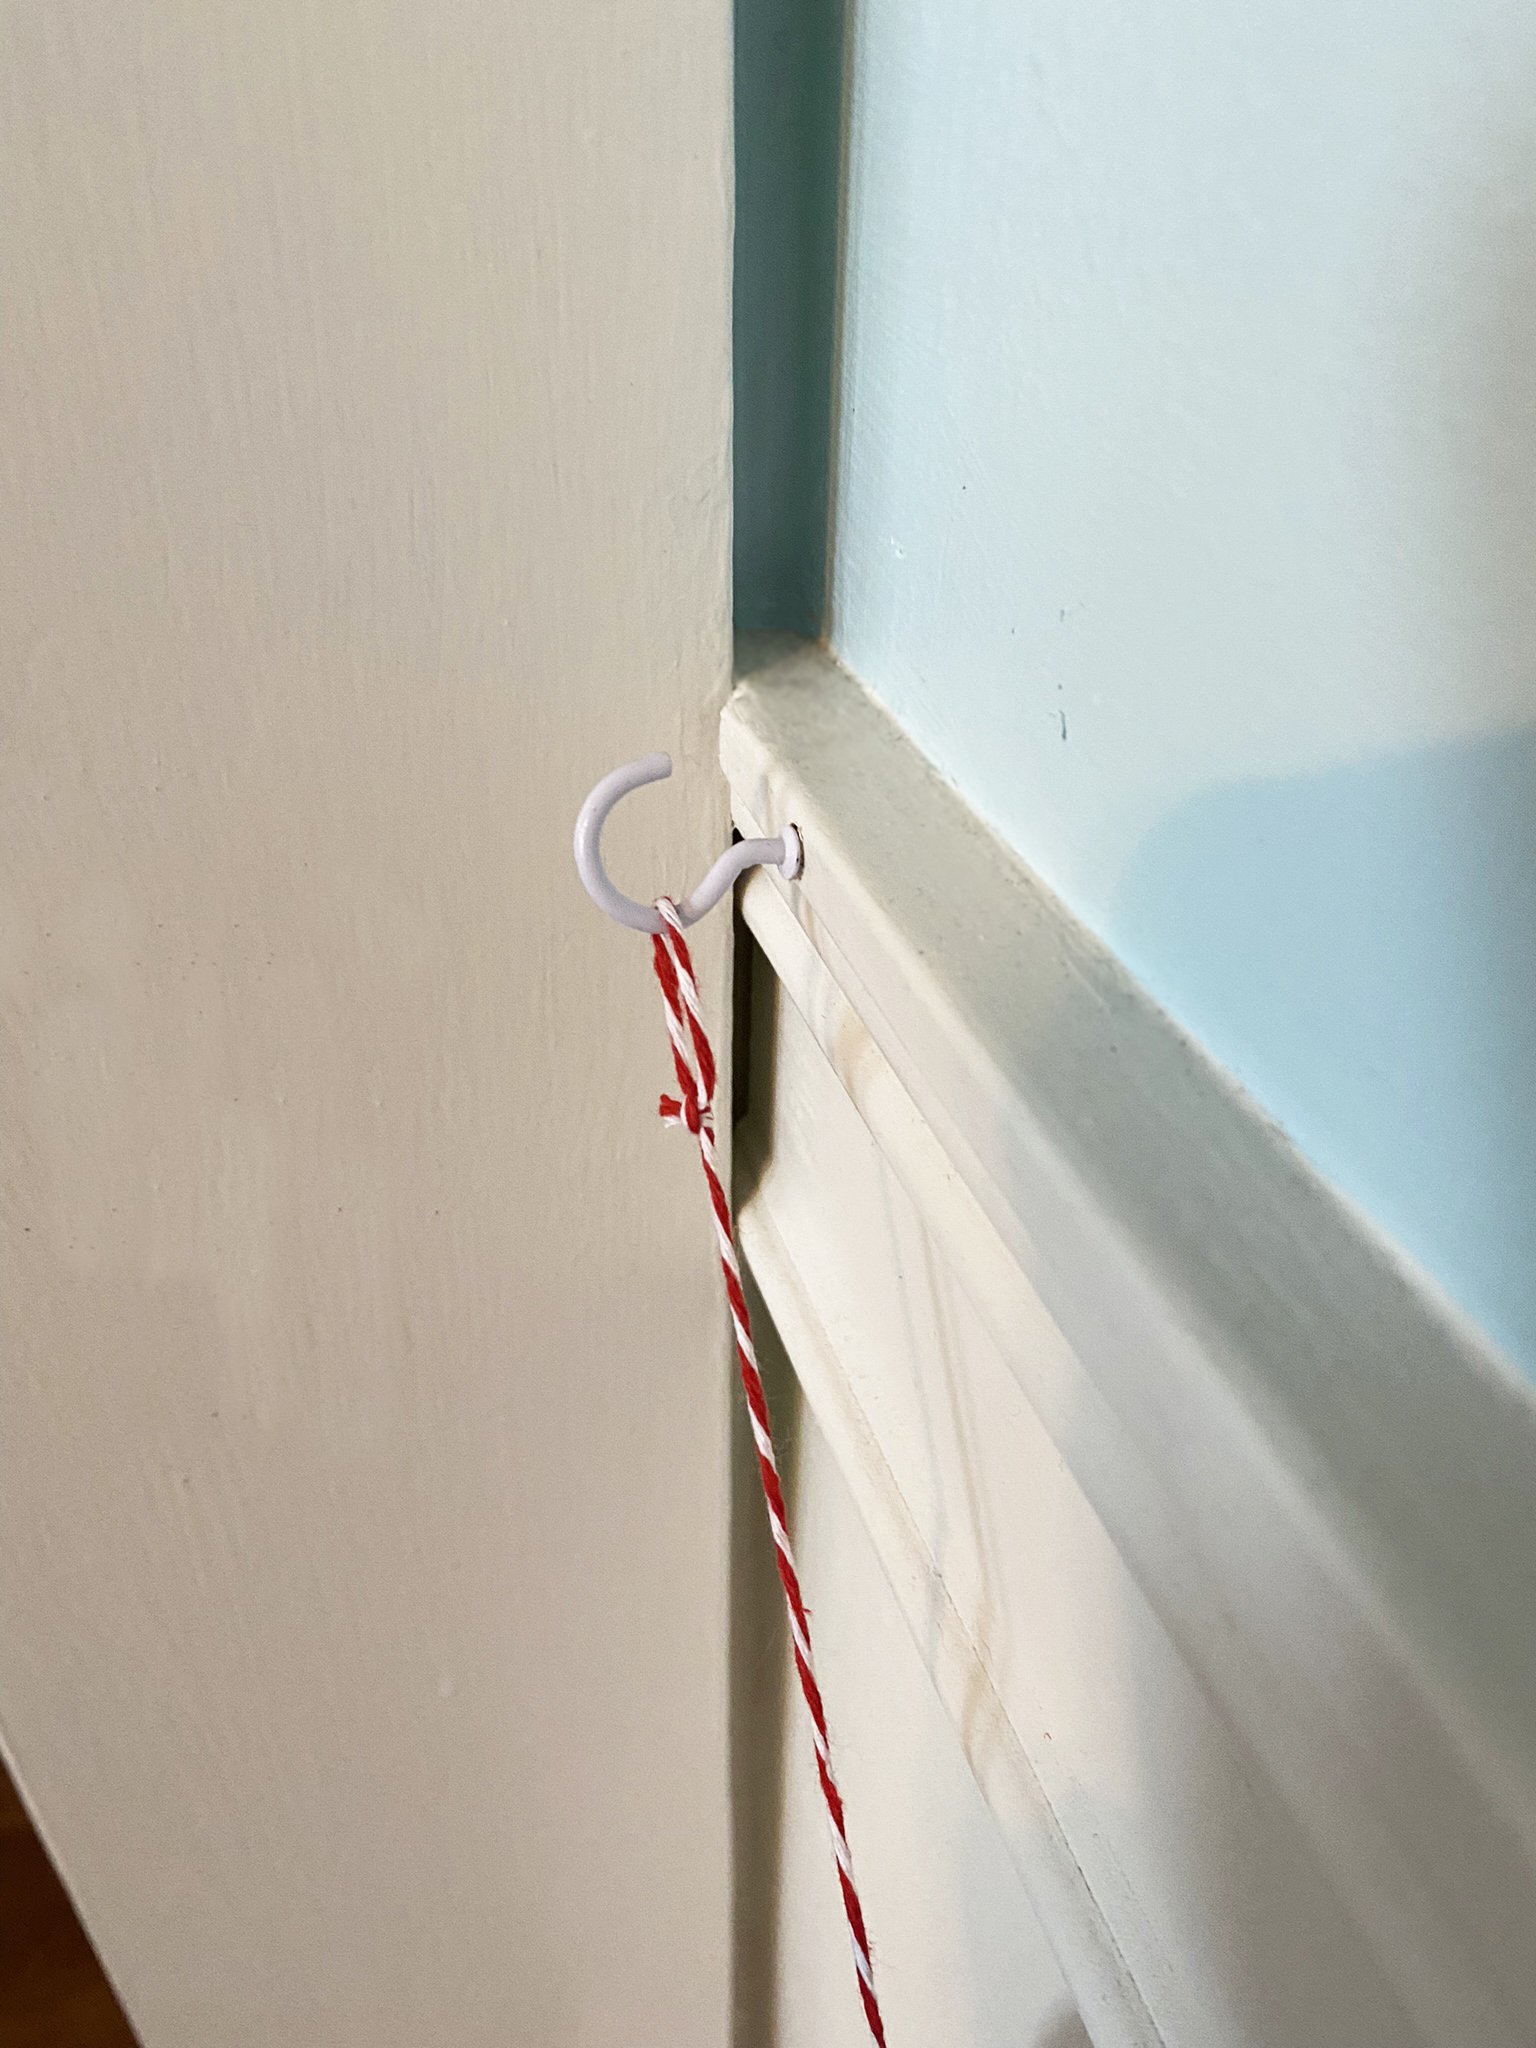
Step 8
Attach each end of the garland to the wall or location where it will hang. We already had these hooks since this is our holiday “garland wall”.

Step 9
Adjust the garland’s draping. Once finished, enjoy your personalized Valentine’s garland!